

Gemini Enterprise
Connect the Alation-hosted MCP server to Gemini Enterprise as a custom MCP data store, then attach it to an app so agents and chats can ground their answers in your catalog.
Prerequisites
Section titled “Prerequisites”- A Google Cloud project to hold the MCP server. Work with your GCP admin to create a dedicated project, or reuse an existing one.
- The Disable custom MCP server connector for Gemini Enterprise organization policy set to Not Enforced. See the Google Cloud documentation for how to override the constraint.
- The Owner role on the project.
- The Discovery Engine Editor role granted to the user who adds the MCP server.
- Server Admin access to your Alation instance to create the OAuth client.
Creating the OAuth client
Section titled “Creating the OAuth client”The connector authenticates with user-initiated OAuth.
Create the OAuth client in the Alation UI following the user-initiated OAuth guide, then note the following.
- Set the Redirect URI to
https://vertexaisearch.cloud.google.com/oauth-redirect. - Enable Require PKCE.
- Copy the Client ID and Client Secret — you will need them when configuring the data store.
Creating the MCP server in Gemini Enterprise
Section titled “Creating the MCP server in Gemini Enterprise”-
Open Gemini Enterprise
Go to the Gemini Enterprise page and select the project where the MCP connector should be configured.
-
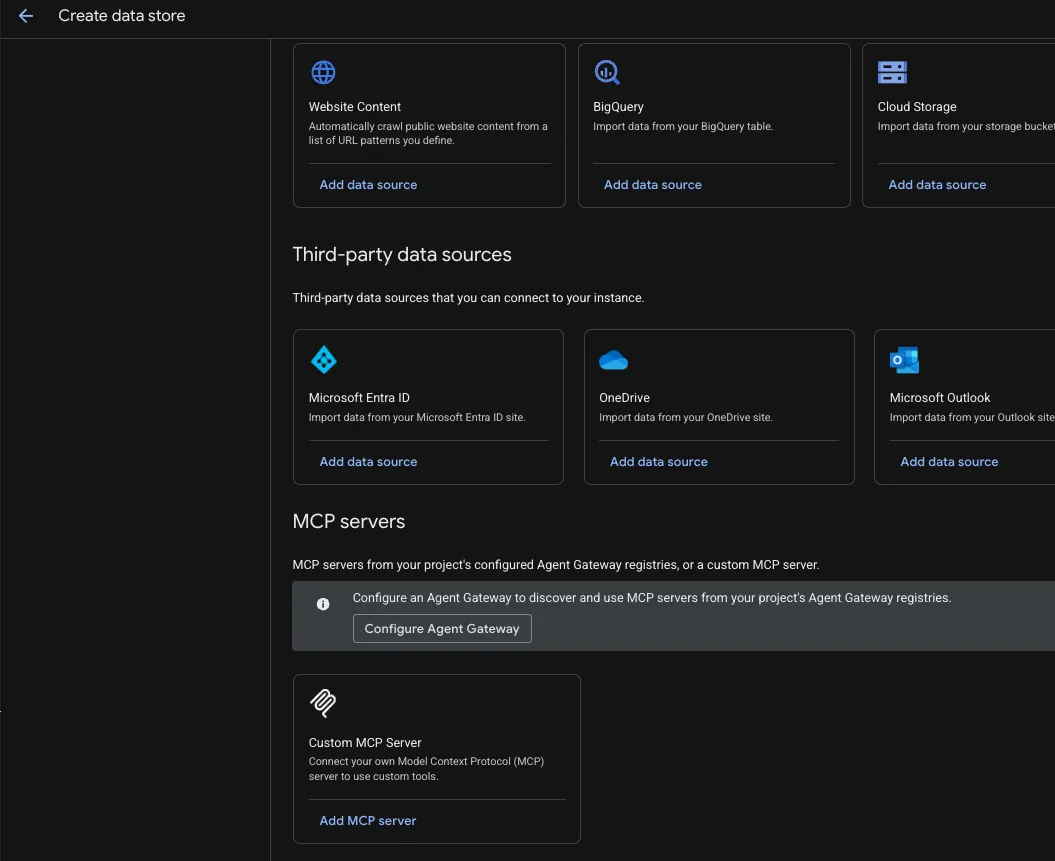
Add a custom MCP server
Follow the Set up a custom MCP server steps to begin adding the data store.
-
Choose OAuth authentication
In the Authentication Settings section, set Authentication Method to OAuth 2.0.
-
Fill in the configuration
Field Value MCP Server URL https://your-alation-instance.alationcloud.com/ai/mcp/— the trailing slash is requiredAuthorization URL https://your-alation-instance.alationcloud.com/oauth/v1/authorize/Token URL https://your-alation-instance.alationcloud.com/oauth/v1/token/Client ID From the OAuth client you created Client Secret From the OAuth client you created Scopes openidEnable PKCE Support Checked 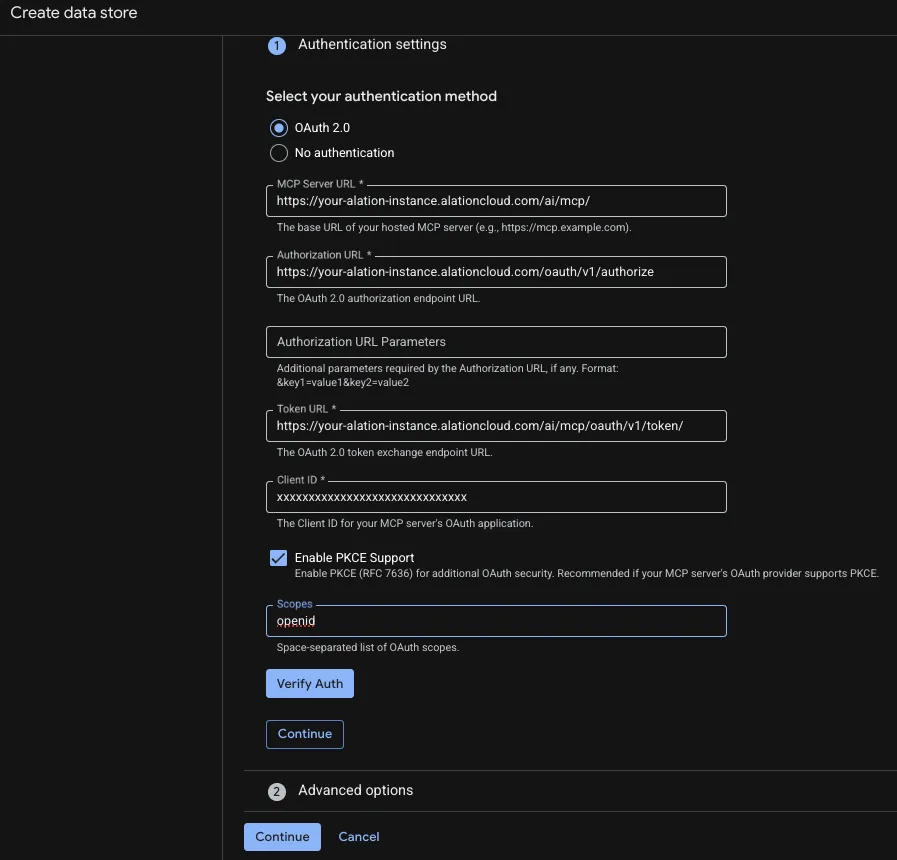
-
Verify authentication
Click Verify Auth. You are prompted to sign in to your Alation instance; with single sign-on, you continue to your identity provider to complete authentication.
-
Complete the advanced options
Continue with the Advanced configuration options. Choose the region the connector should be available in — the default is Global.
-
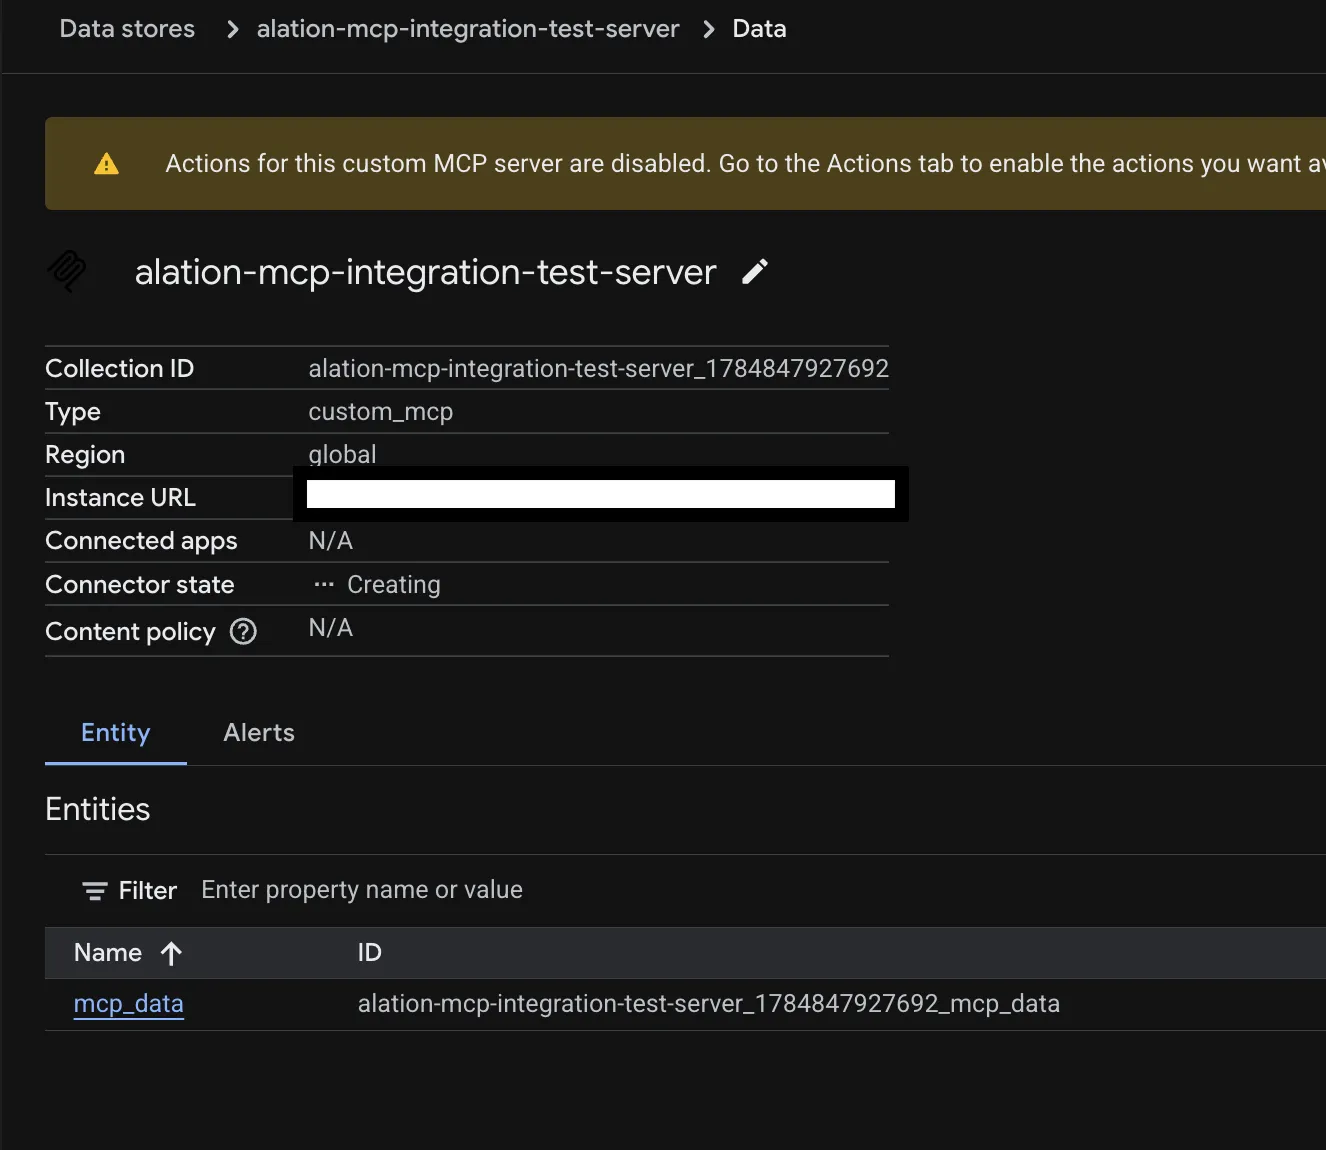
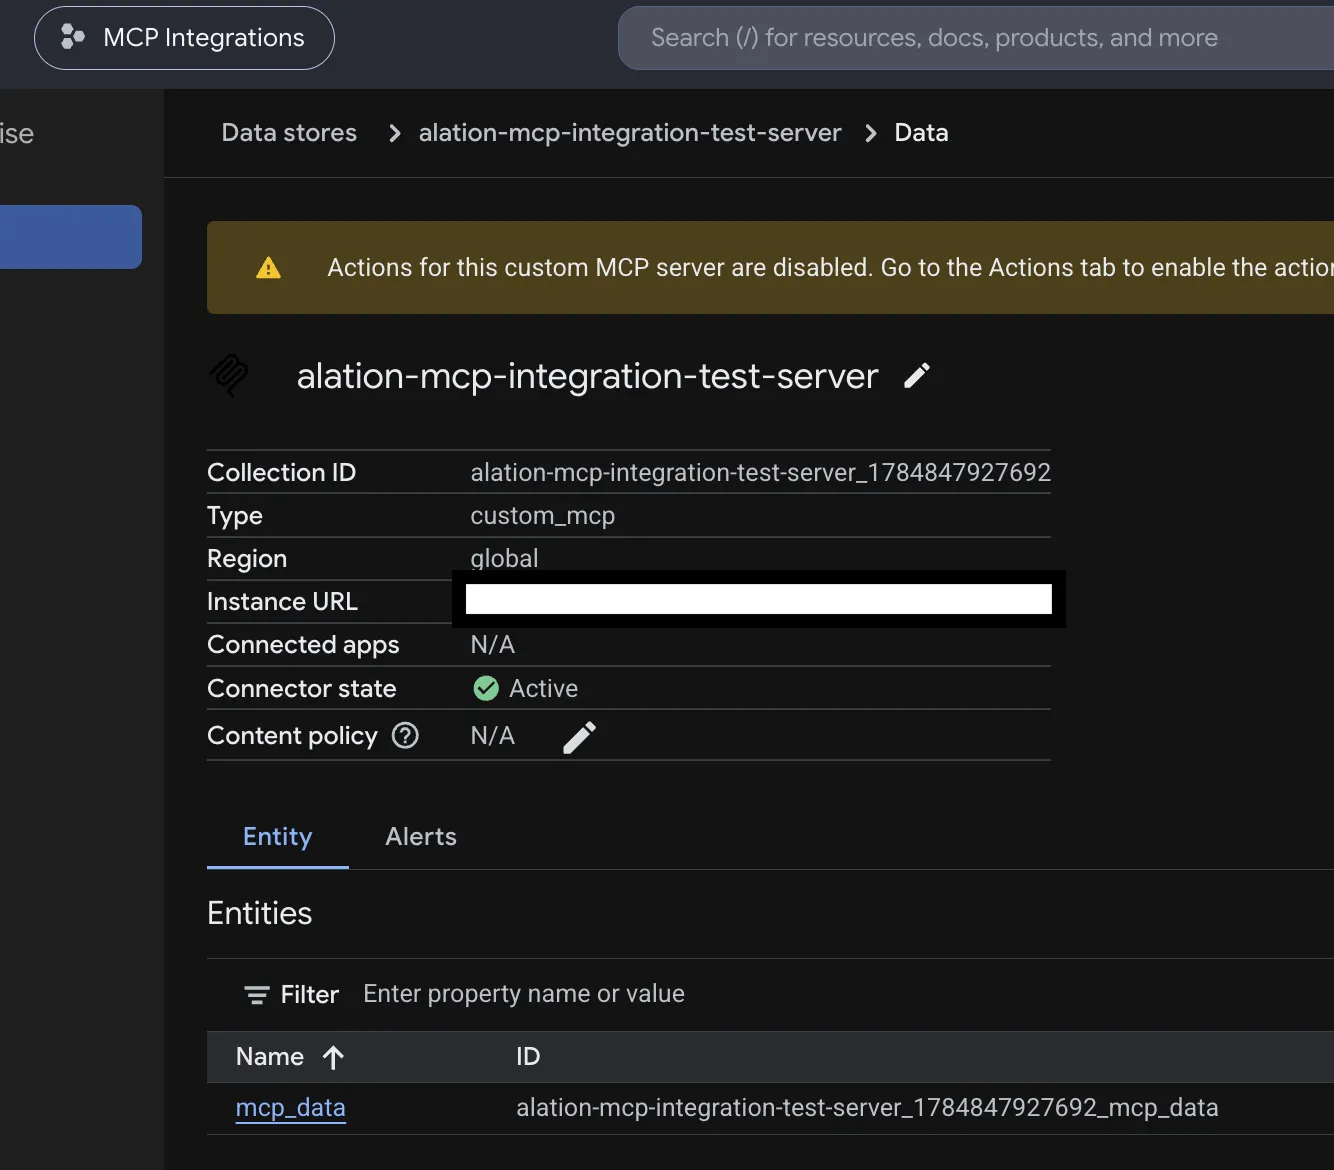
Wait for the data store to activate
Check the state of the data store after adding the MCP server. Once it changes from Creating to Active, the custom MCP server data store is ready to use.
Enabling actions
Section titled “Enabling actions”Actions in Gemini Enterprise are synonymous with MCP tools, and they start out disabled.
-
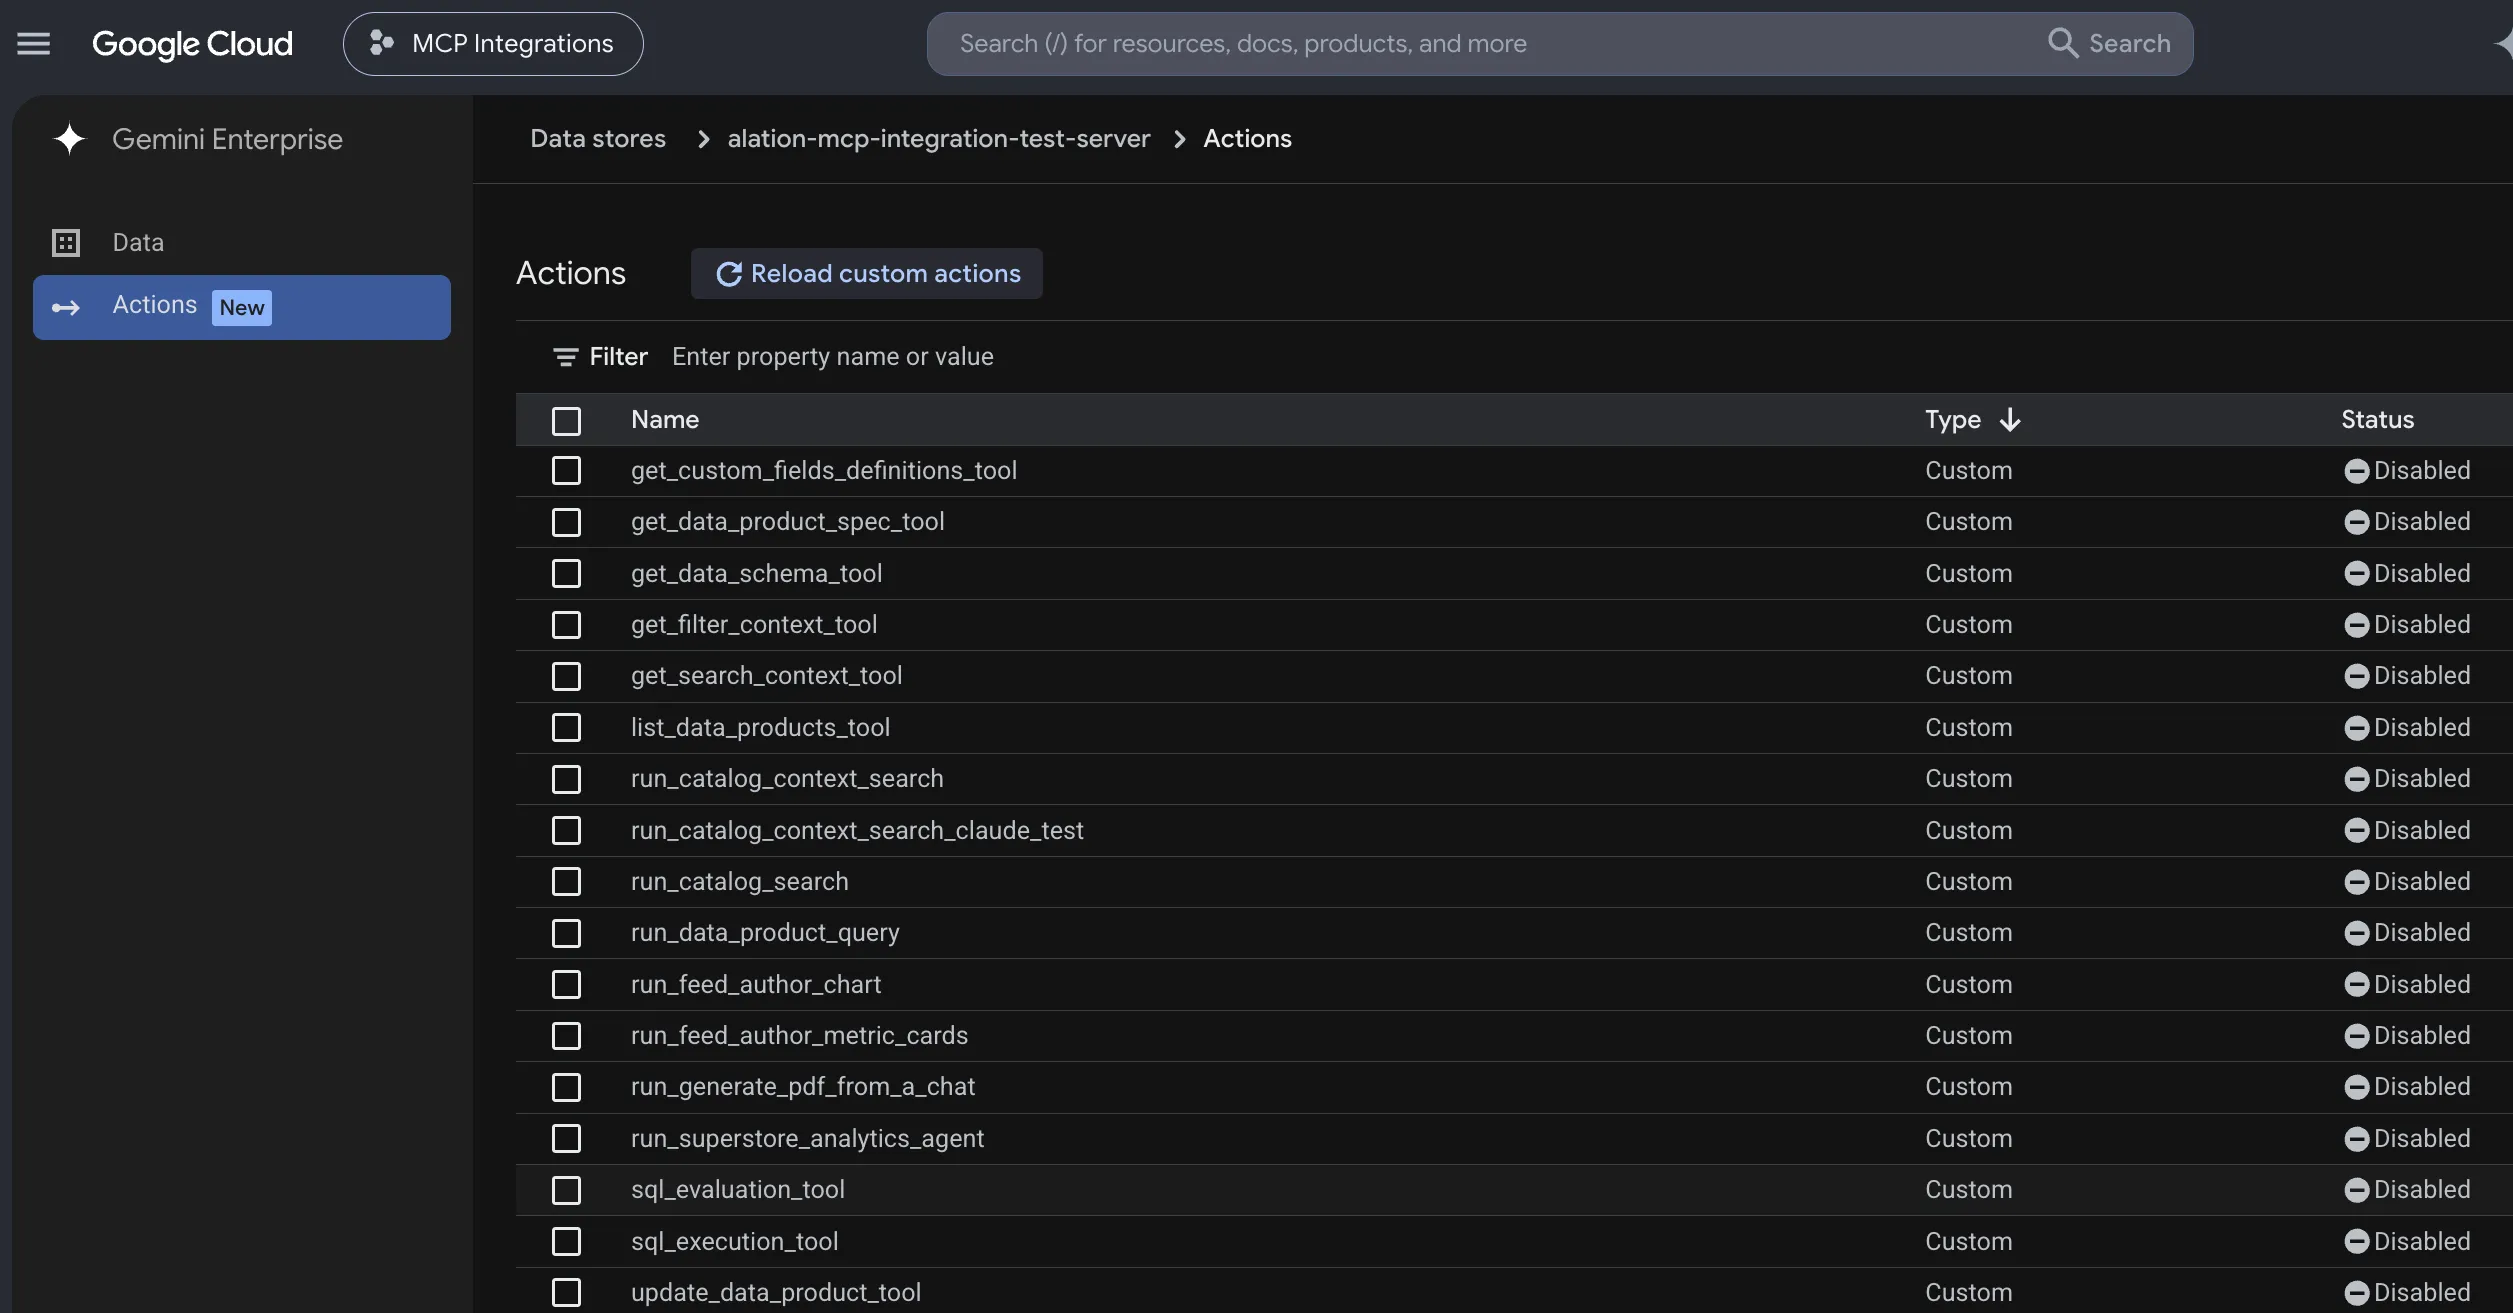
Load the actions
Follow Enable actions to load the available actions.
-
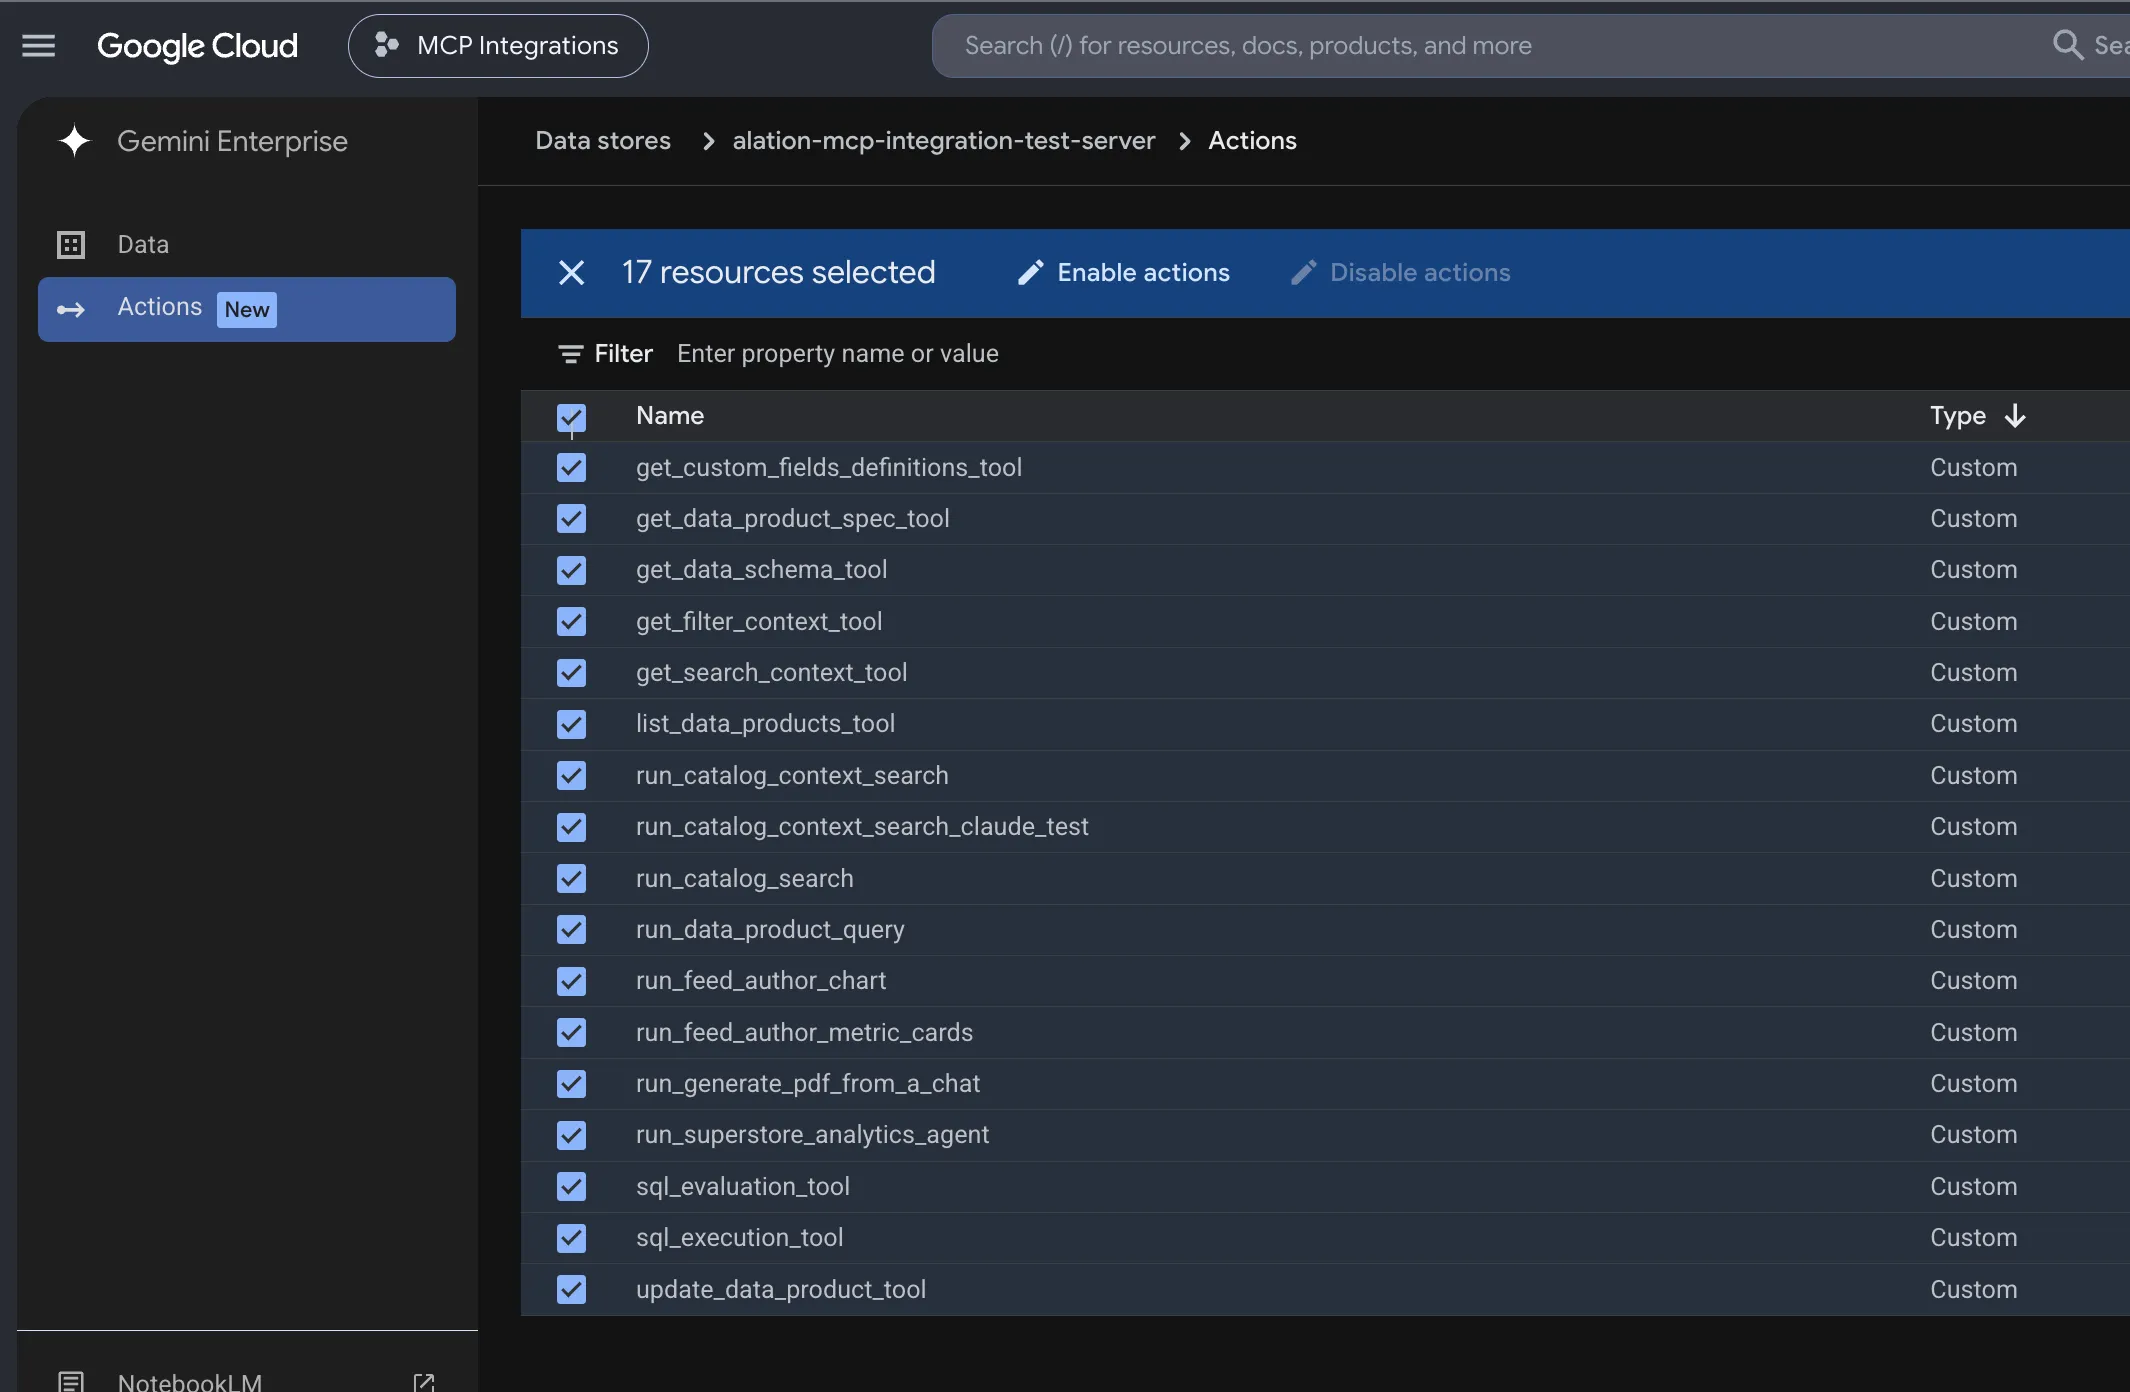
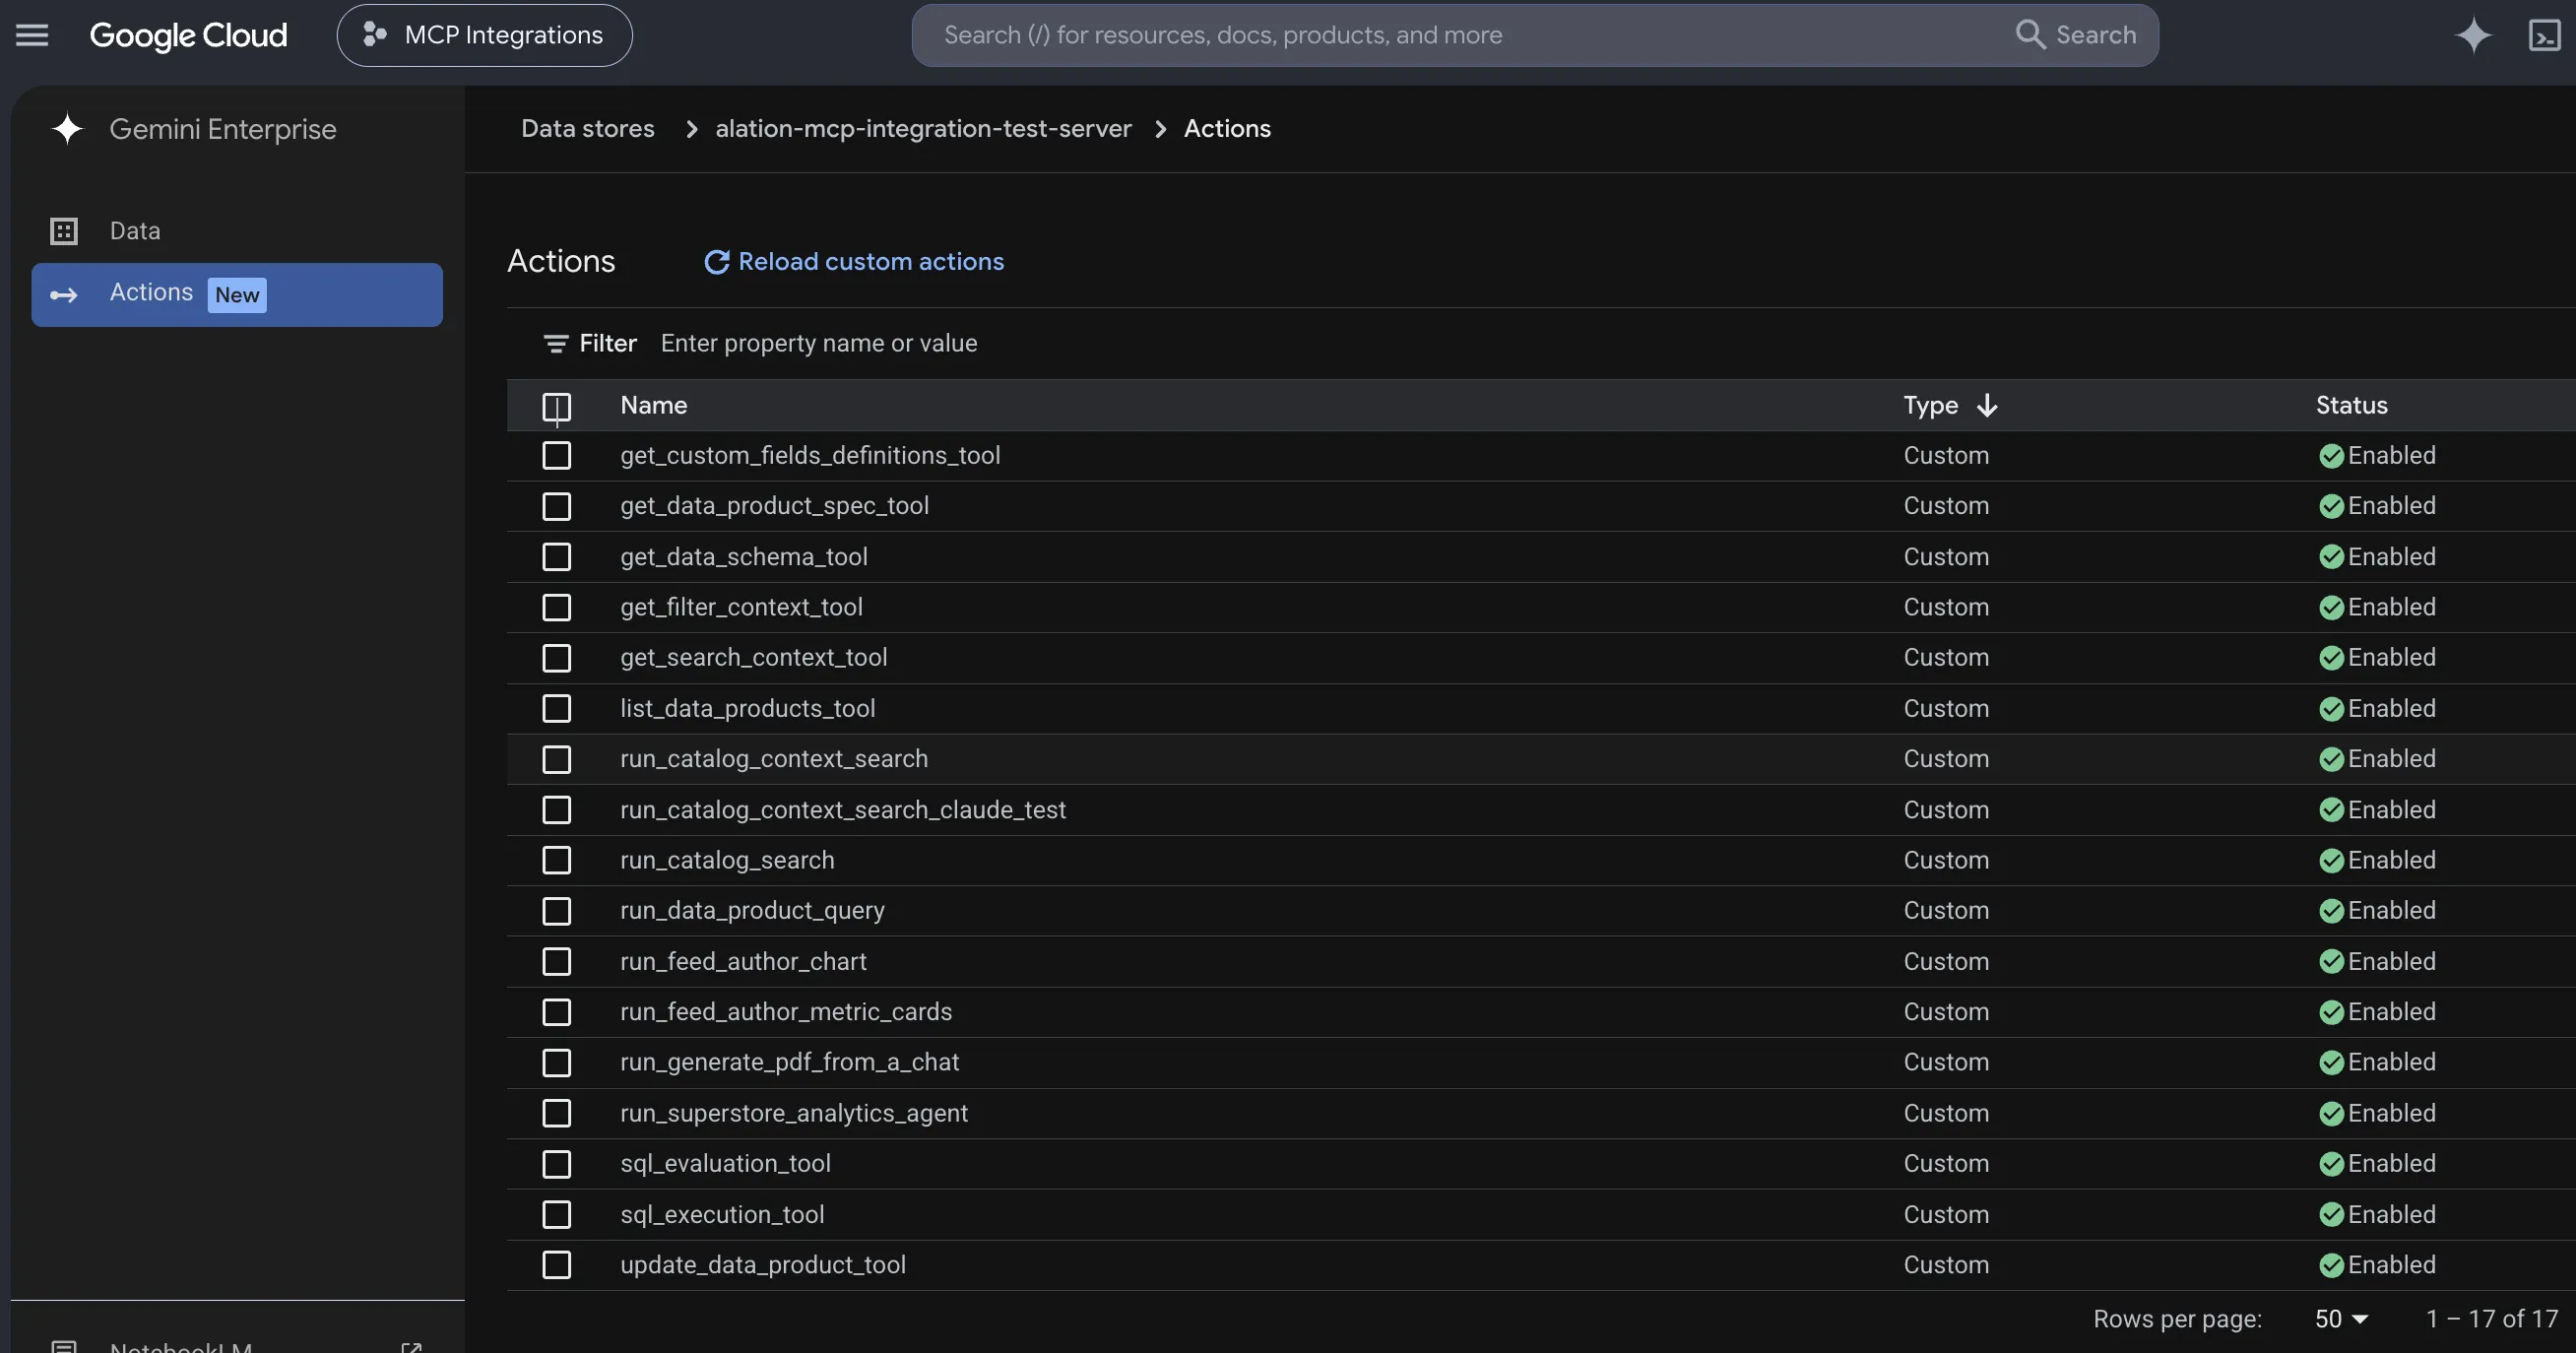
Enable the actions you need
Once the actions load, they appear in the Disabled state. Select the actions to enable and click Enable Actions.
Adding the connector to an app
Section titled “Adding the connector to an app”The MCP server is used inside an agent or chat by associating its data store with an app in Gemini Enterprise.
-
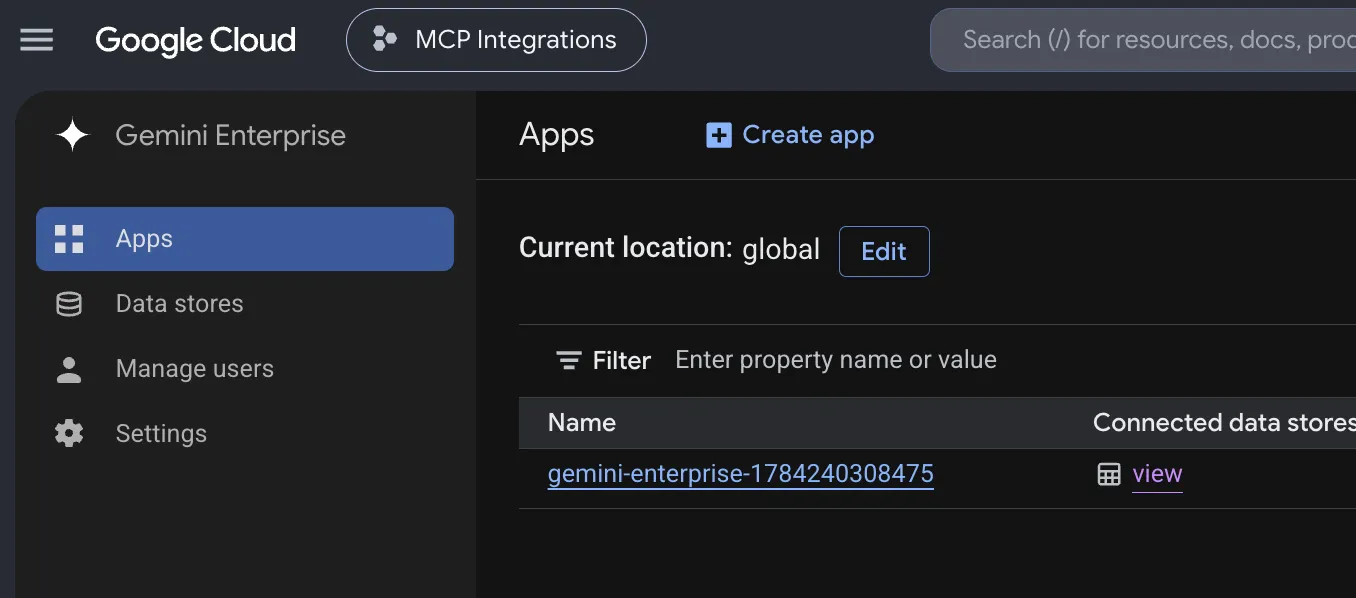
Create an app
Create an app in Gemini Enterprise.
-
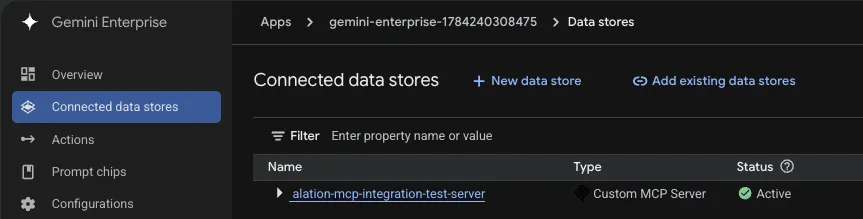
Open the connected data stores
Open the app to configure it and select the Connected data stores tab.
-
Attach the data store
Click Add existing data stores and choose the Alation MCP server from the list.

Using the connector
Section titled “Using the connector”-
Open the web app
On the app’s Overview page, copy the URL from the Your Gemini Enterprise webapp is ready section and open it in a new tab.
-
Start a chat
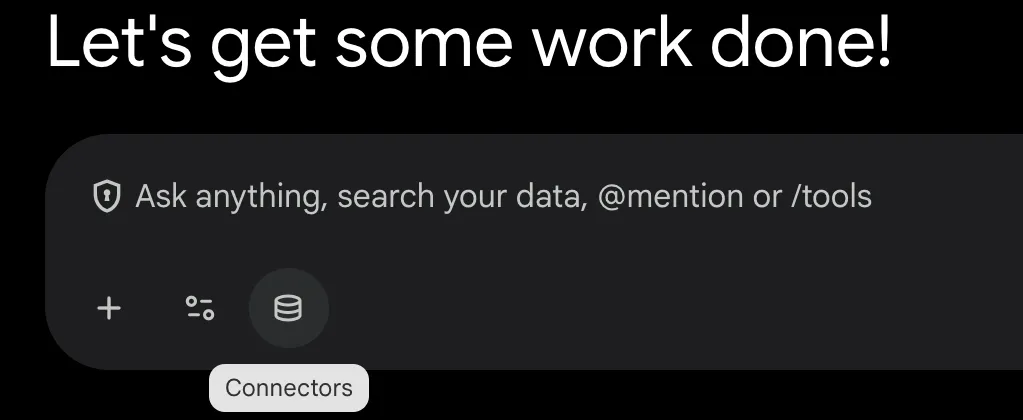
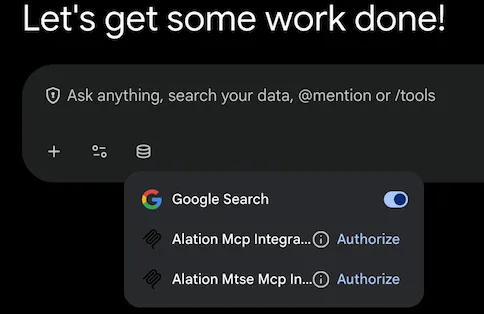
Click New Chat, then click the Connectors icon in the chat window. The Alation MCP server appears in the list.
-
Authorize as yourself
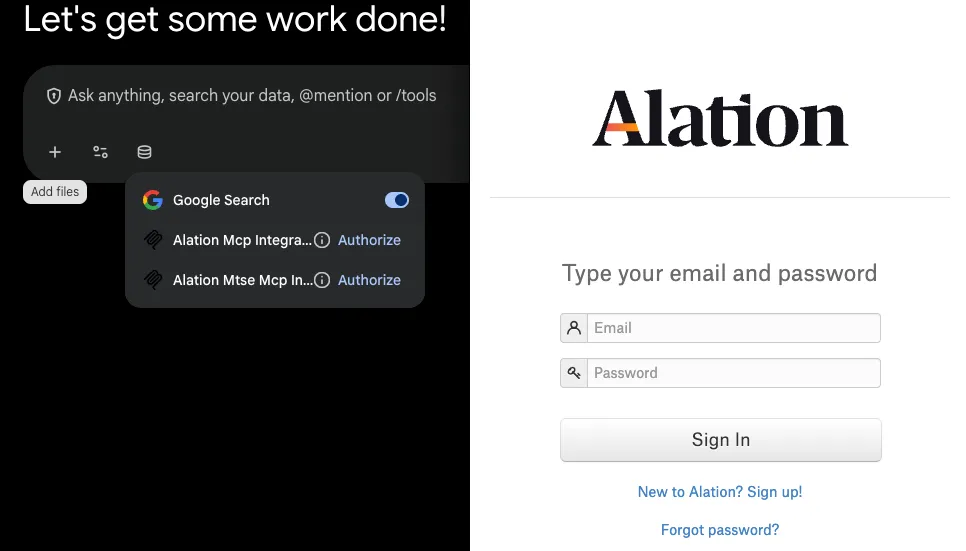
Click Authorize next to the Alation MCP server and sign in to your Alation instance. With single sign-on, you continue to your identity provider to complete authentication. Because each user connects individually, every request to Alation runs with that user’s own permissions.
-
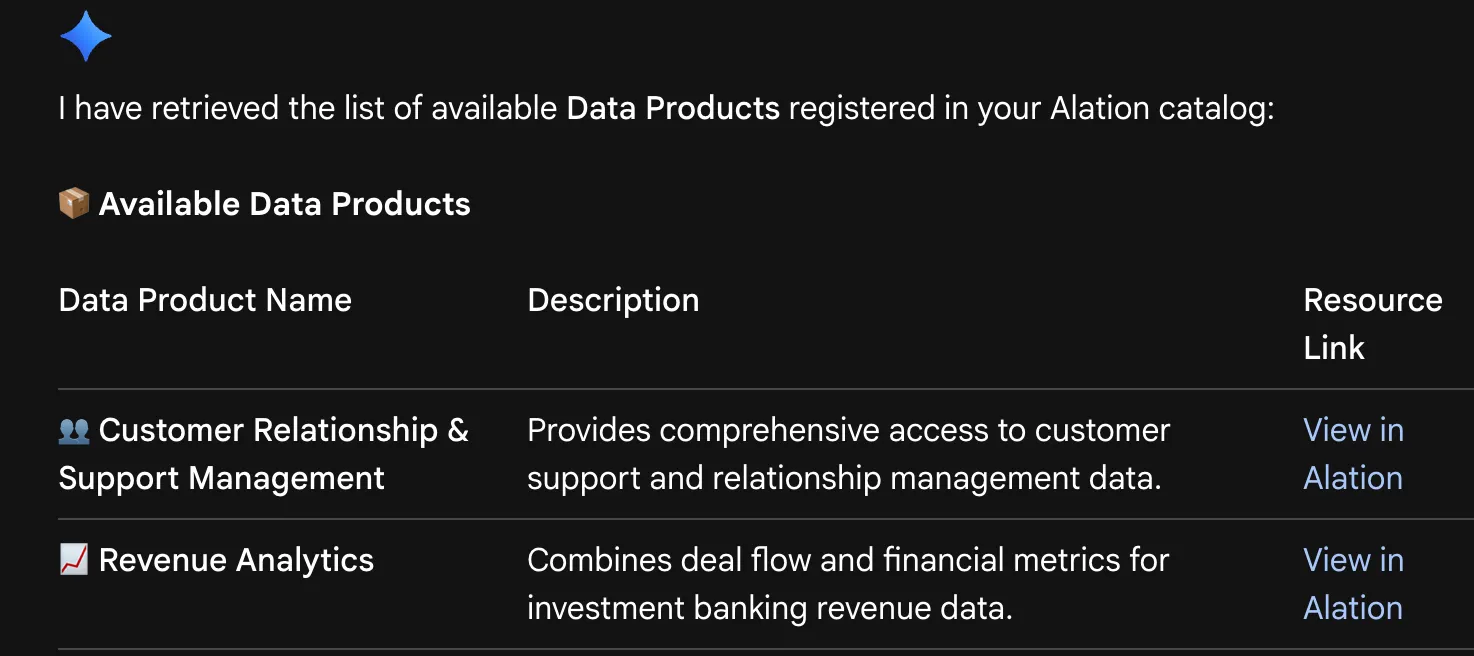
Verify
Ask for a list of the data products available in your Alation instance to confirm the connector is working.
Related
Section titled “Related”- Using the MCP server — what the connector exposes, example prompts, and custom MCP servers with curated tool sets.
- Creating an OAuth client in Alation — the user-initiated OAuth flow this connector relies on.