VS Code
Connect your Alation catalog to VS Code using the Remote MCP server with OAuth authentication.
Prerequisites
Section titled “Prerequisites”- OAuth Client credentials from your Alation instance, or a Server Admin role to register a new client.
- VS Code with MCP support enabled
Create an OAuth Client for VS Code
Section titled “Create an OAuth Client for VS Code”Follow the OAuth 2.0 User Initiated Authentication Guide to create an OAuth Client in your Alation instance.
Use the following payload values when creating the OAuth Client (omit the localhost address suggested by VS Code).
{ "name": "VS Code MCP Client", "client_type": "confidential", "redirect_uris": [ "https://vscode.dev/redirect" ], "refresh_token_expiry": 259200, "access_token_expiry": 3600, "pkce_required": true}Securely store the client_id and client_secret values, they will be used during authentication.
Adding the MCP Server
Section titled “Adding the MCP Server”-
Create the MCP server configuration file
In your project root, create a
.vscodefolder if it doesn’t exist, then create (or open)mcp.jsoninside it. -
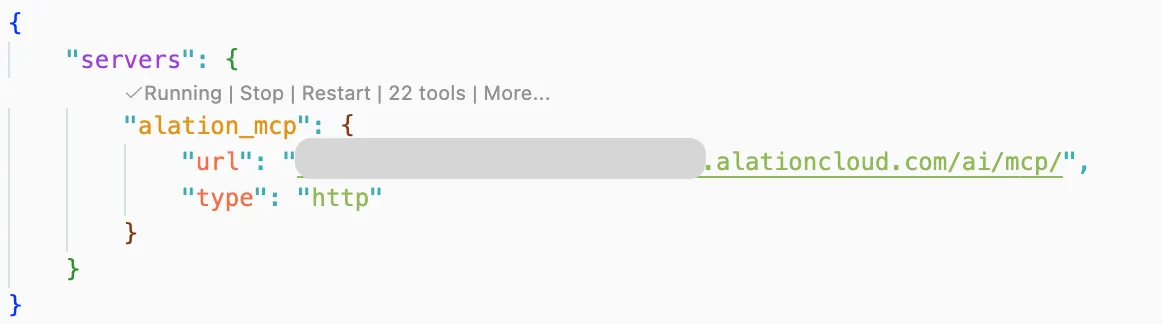
Add the Alation server configuration
{"servers": {"alation_mcp": {"url": "https://<YOUR_INSTANCE>.alationcloud.com/ai/mcp/", // Replace with your Alation instance URL"type": "http"}},"inputs": []}
Connecting (Authentication)
Section titled “Connecting (Authentication)”-
Start the MCP server
In the
mcp.jsonfile, click Start above the server configuration.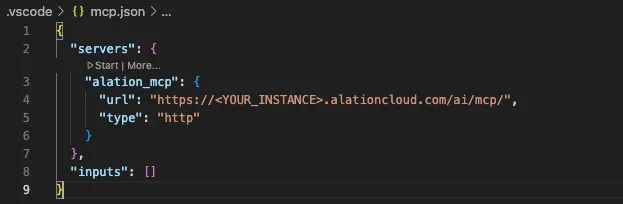
-
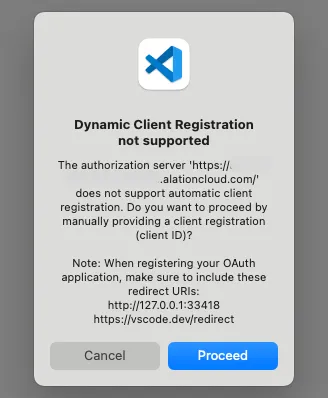
Proceed through Registration
A modal appears saying “Dynamic Client Registration not supported”. Click Proceed.
-
Enter your credentials
VS Code prompts you (sequentially) for
client_idandclient_secretfrom the OAuth Client you created. Paste each one, pressing Enter after each. -
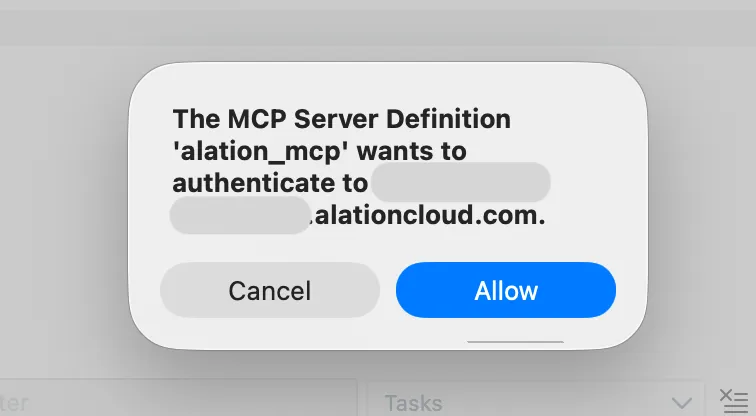
Allow authentication
Click Allow when prompted that the MCP server wants to authenticate.
-
Cancel the
localhostauthentication promptA modal asks to open an external website, with the redirect URI url-encoded to a value similar to
redirect_uri=http%3A%2F%2F127.0.0.1%3A33418%2F. Click Cancel (or cancel via the toast in the bottom right-hand of VS Code if you clicked Open).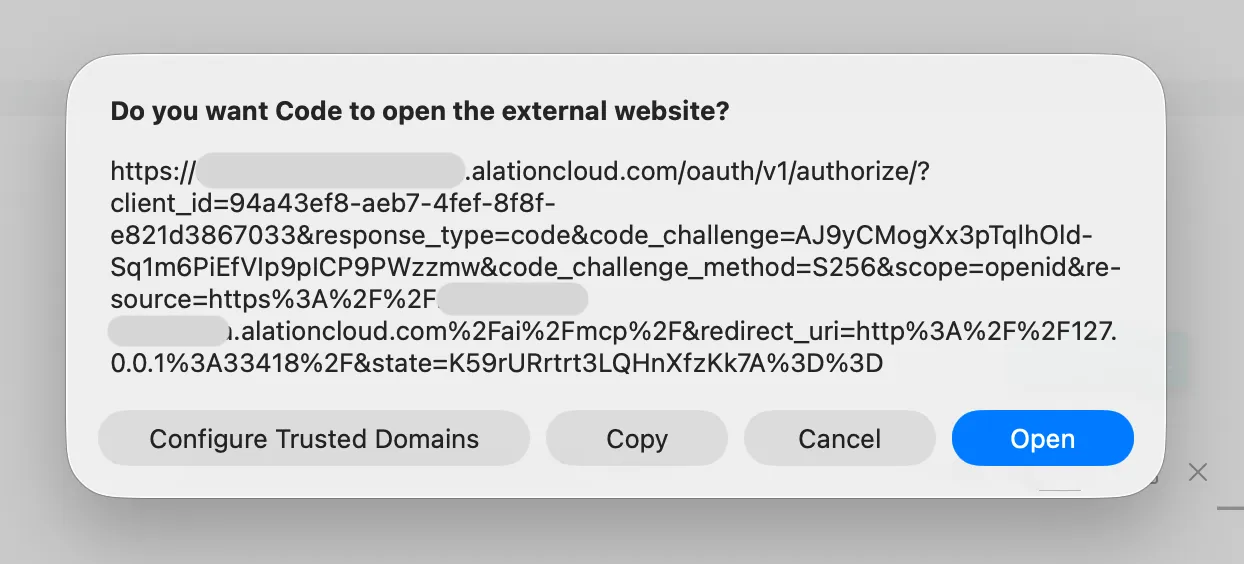
-
Accept the
vscodeauthentication promptA toast will appear in the bottom right-hand of VS Code asking “Having trouble authenticating?”. Click Yes.

Another external website modal appears with a new oauth link, with a redirect URI similar to
redirect_uri=https%3A%2F%2Fvscode.dev%2Fredirect. Click Open.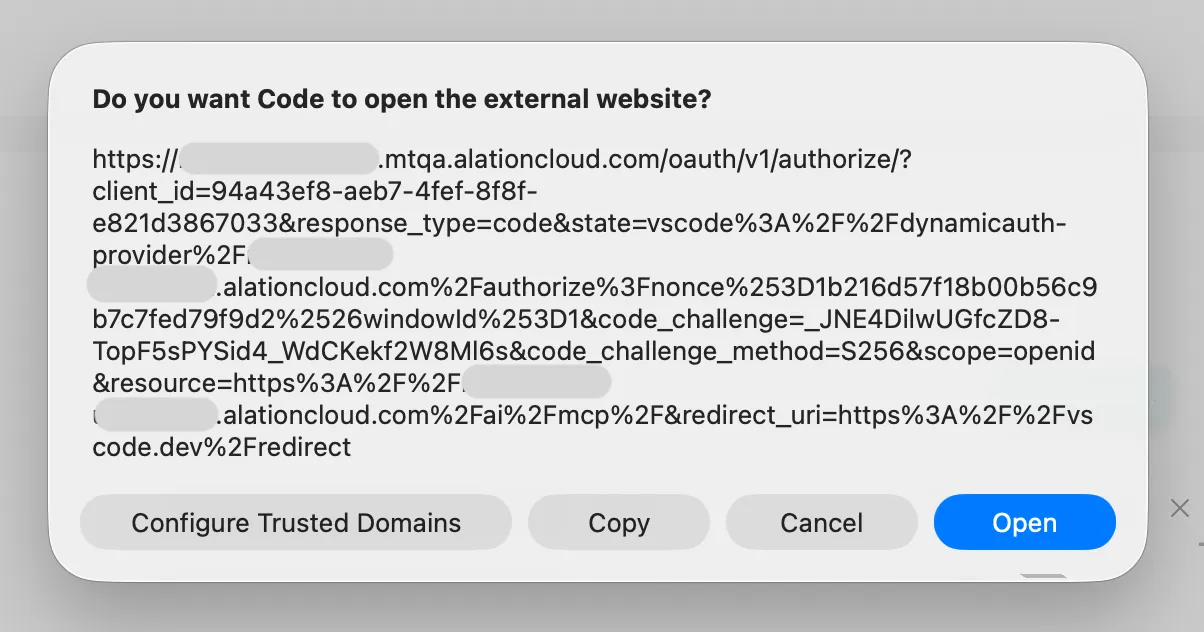
-
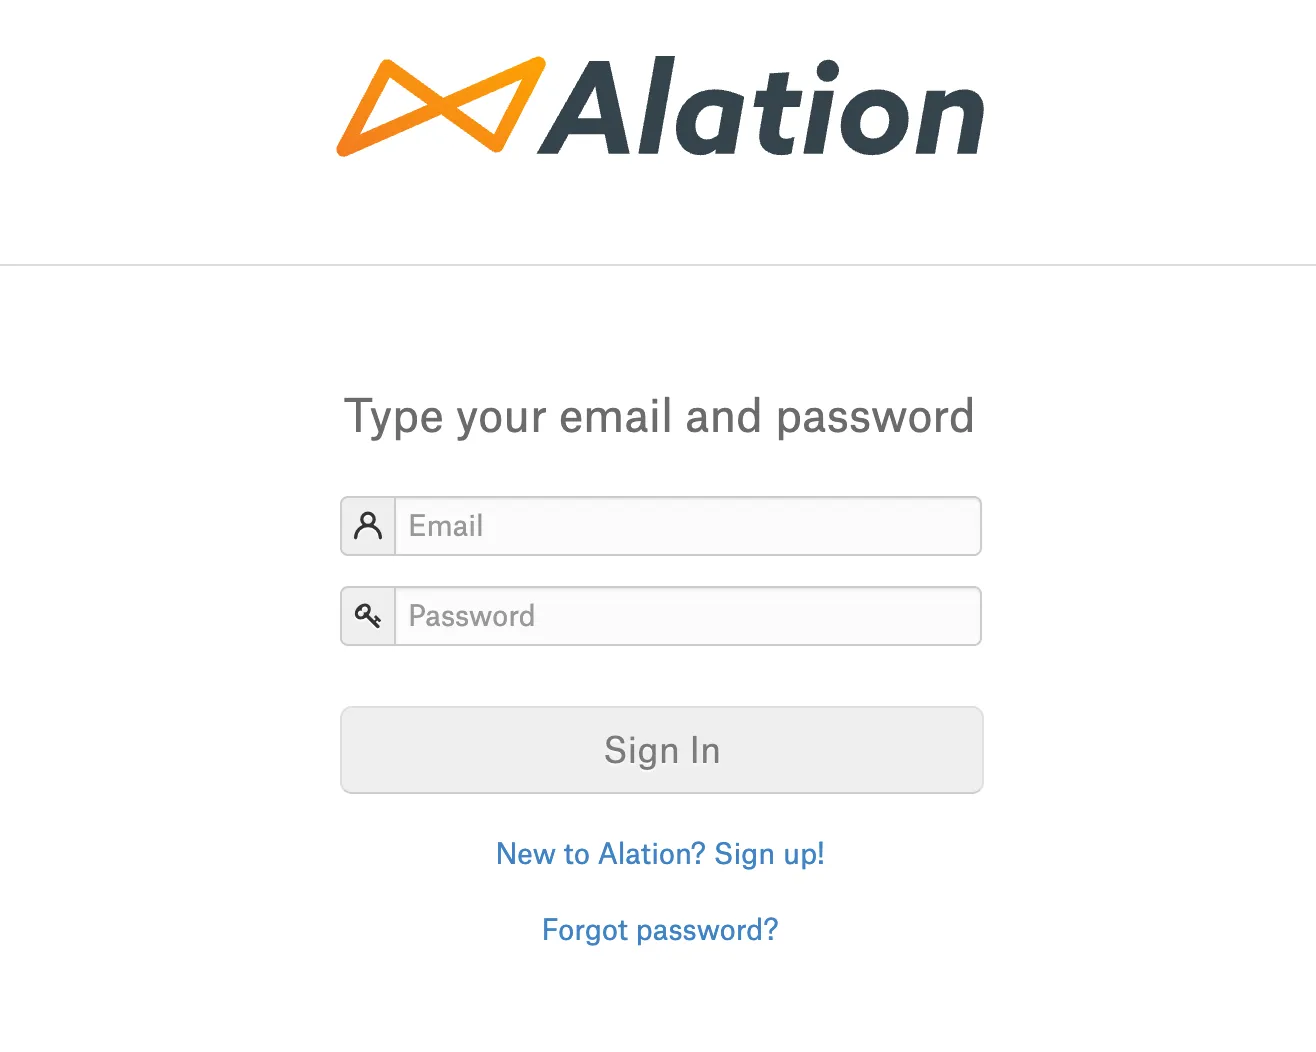
Sign in to Alation
Your browser opens the Alation login page. Sign in with your credentials.
-
Verify connection
After signing in, VS Code shows the server as “Running” with a number of available tools.
Enabling Tools
Section titled “Enabling Tools”Tools are available once connected. Click the tool count (e.g., “XX tools”) to open the Configure Tools panel and select which tools are available to chat.

Example Prompts
Section titled “Example Prompts”Once connected, try queries like:
- “Use catalog context search agent and fetch all columns in the sales table” (You can also point to a specific tool and ask your questions like this)
- “What tables are related to customer data?”
Troubleshooting
Section titled “Troubleshooting”-
Stuck on “Authentication…”? Restart VS Code and follow the authentication steps again.
-
Always showing localhost and never redirecting to your server? Check Managed Trusted Domains and remove your Alation instance:
- Cmd+Shift+P (Mac) or Ctrl+Shift+P (Windows)
- Select
Manage Trusted Domains - Remove your Alation instance URL from the list
- Save and retry authentication
-
Need to rotate credentials? Clear saved OAuth state:
- Cmd+Shift+P (Mac) or Ctrl+Shift+P (Windows)
- Select
Authentication: Remove Dynamic Authentication Providers - Check the Alation MCP server entry and click OK, then Remove