User-Initiated OAuth Clients
User (delegated) authorization refers to an OAuth flow where users grant third-party applications access to their protected resources. In this case, the grant is to Alation. When this occurs, the third-party application may act on behalf of the user within Alation.
Delegated authorization requires several systems interacting in concert and follows the 3-Legged Authorization Grant flow.
For delegated authorization to work, configurations are required within Alation and within the third-party application.
Creating an OAuth Client in Alation
Section titled “Creating an OAuth Client in Alation”You can navigate directly to the OAuth Client Applications page at:
https://your-alation-instance.alationcloud.com/app/admin/oauth-client-apps/Or follow the steps below:
-
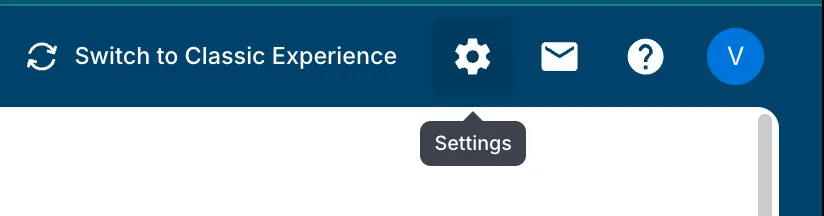
Open Admin Settings
Click the gear icon in the top-right corner of the Alation navigation bar to open the Admin Settings page.
-
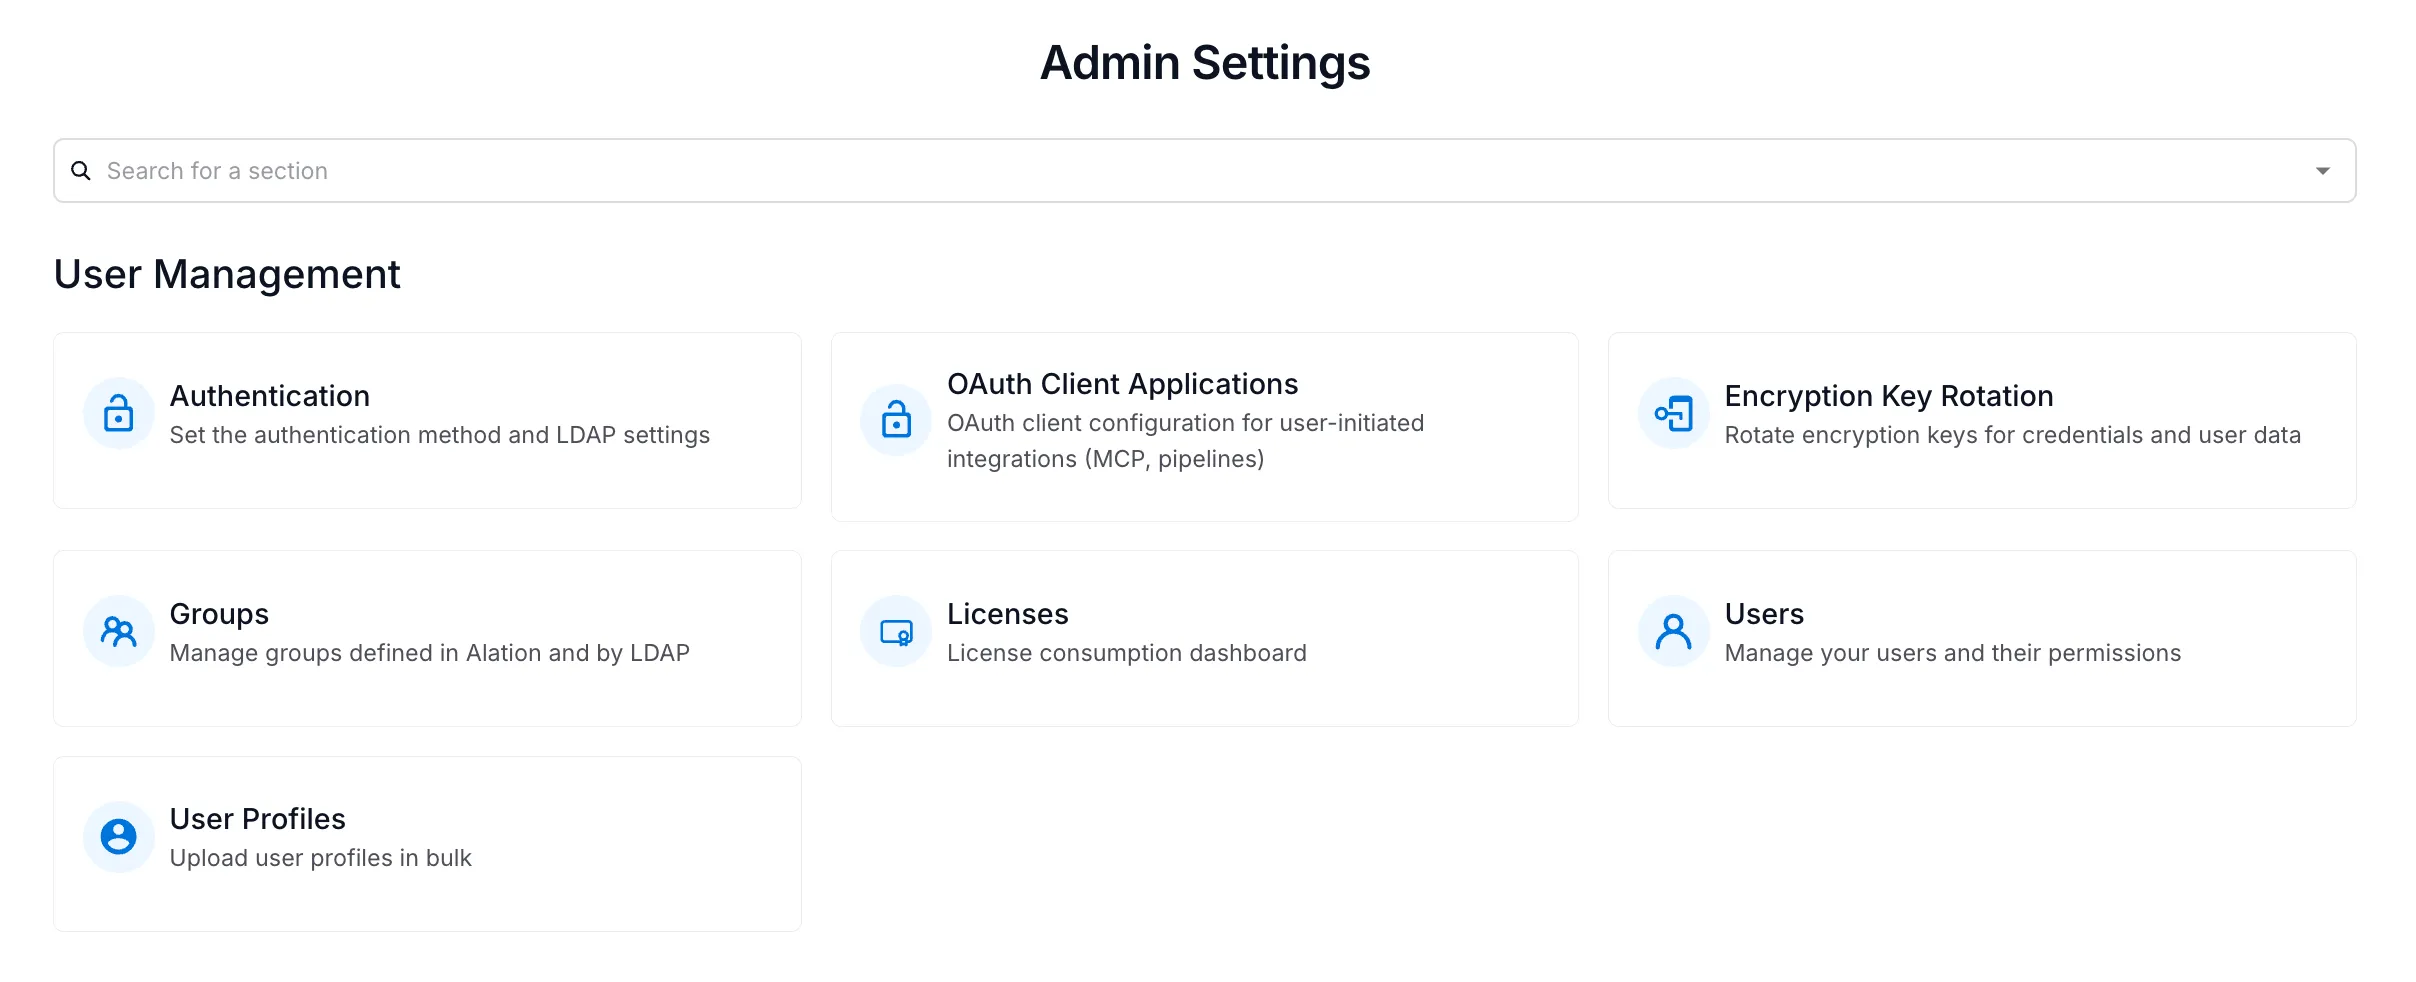
Navigate to OAuth Client Applications
Under the User Management section, click the OAuth Client Applications card.
-
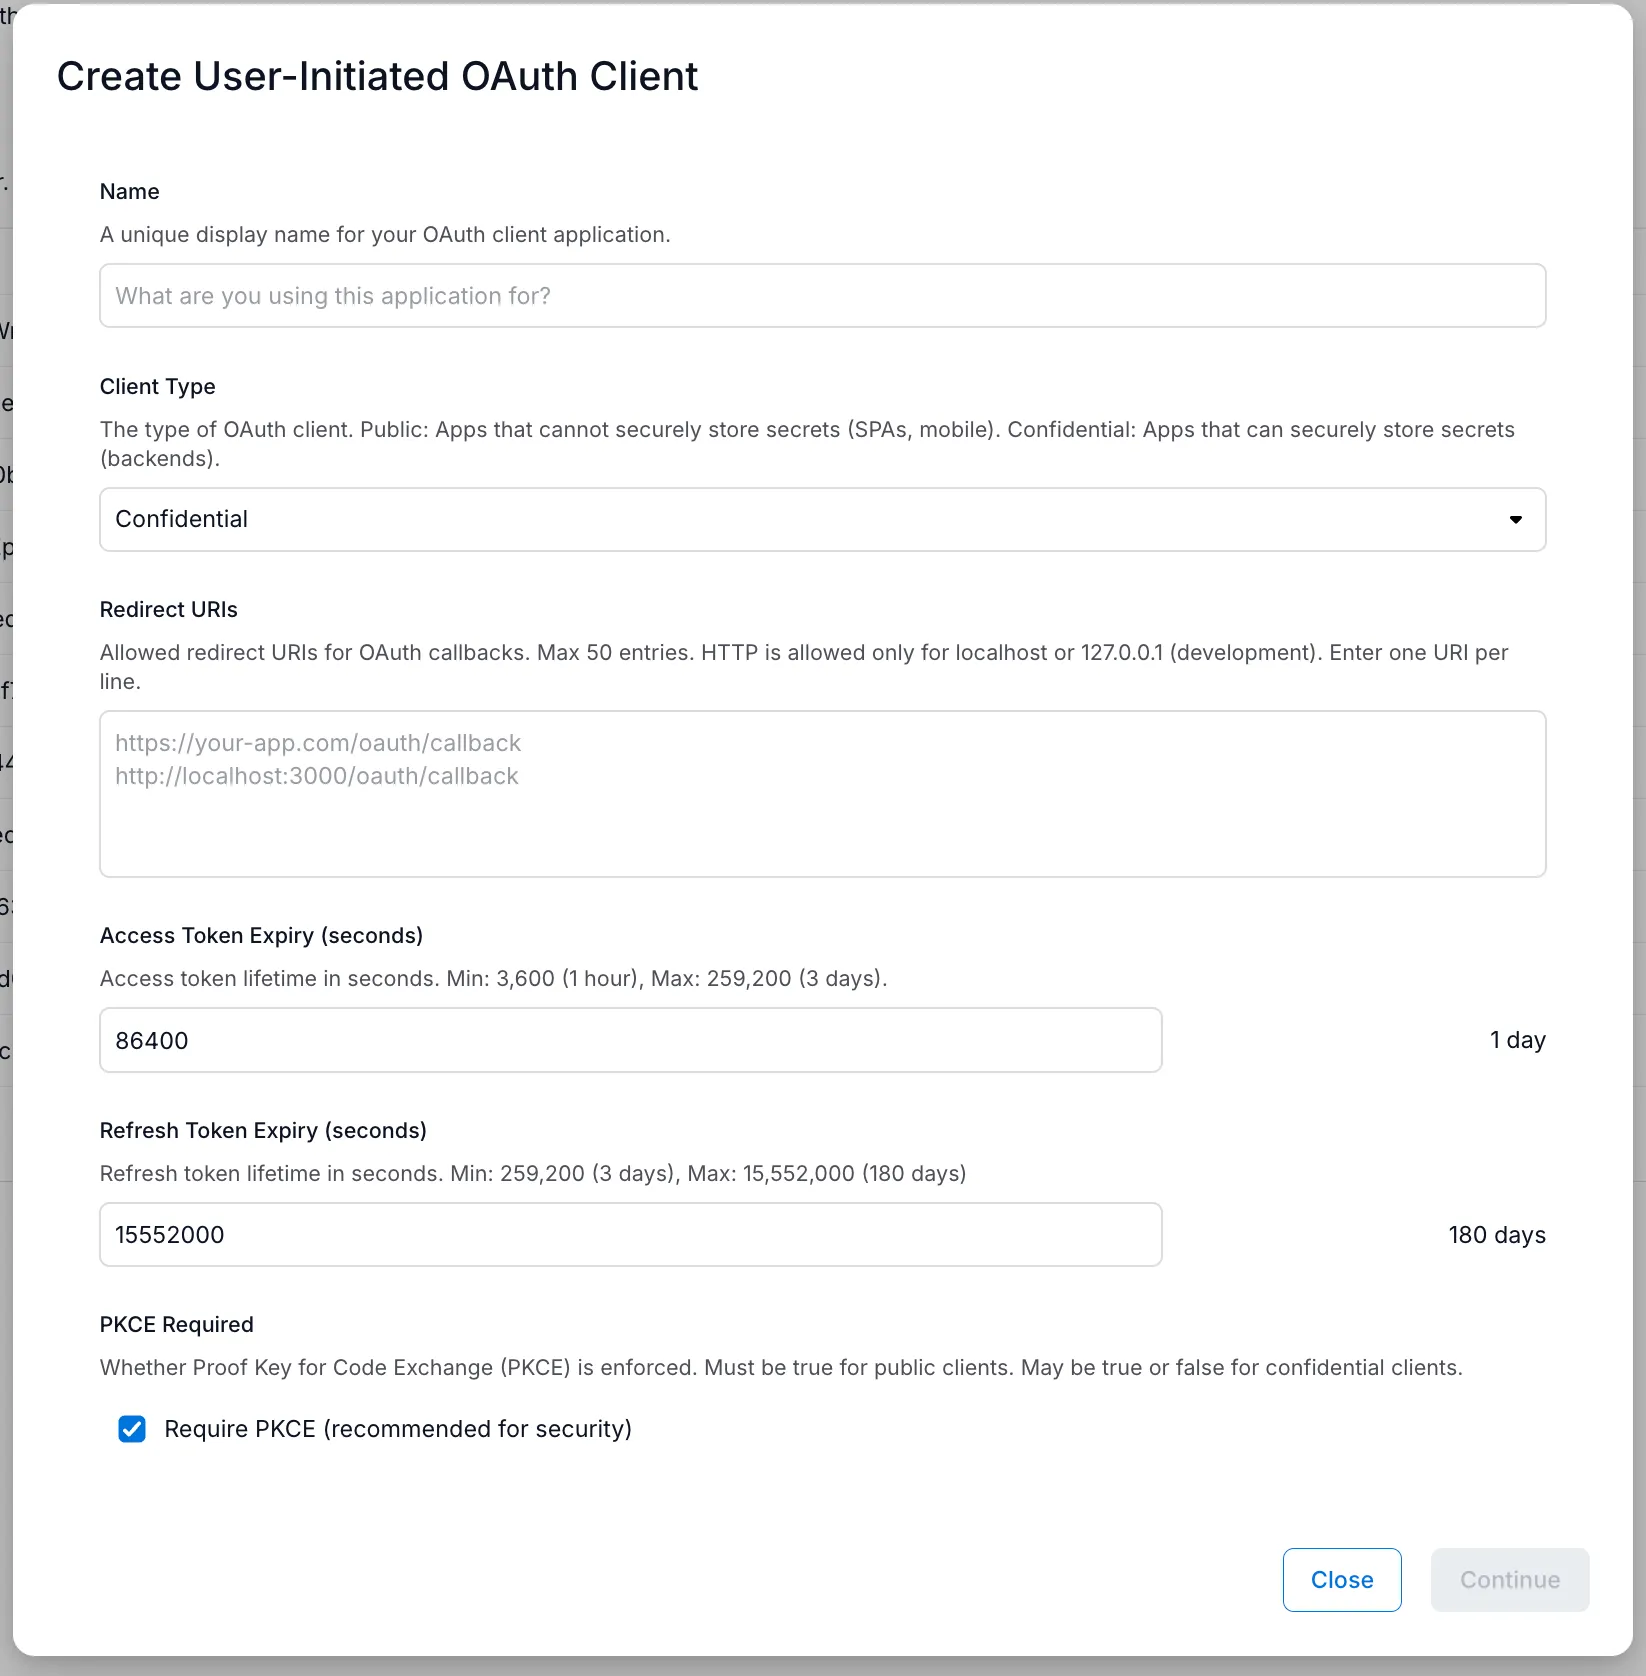
Fill out the creation form
Click Create to open the form. Fill in the following fields:
- Name — A unique display name for your OAuth client (e.g., the platform or application it’s for).
- Client Type — Select Confidential (recommended) for backend integrations where credentials can be kept secure, or Public for single-page applications or mobile apps.
- Redirect URIs — The callback URI(s) where Alation will redirect users after authorization. Enter one URI per line. HTTP is only allowed for
localhostor127.0.0.1(development). See Known Redirect URIs below. - Access Token Expiry (seconds) — Lifetime of access tokens. Min: 3,600 (1 hour), Max: 259,200 (3 days).
- Refresh Token Expiry (seconds) — Lifetime of refresh tokens. Min: 259,200 (3 days), Max: 15,552,000 (180 days).
- PKCE Required — Whether to enforce Proof Key for Code Exchange. Recommended for security. Must be enabled for public clients. See PKCE notes below.
Click Continue when done.
-
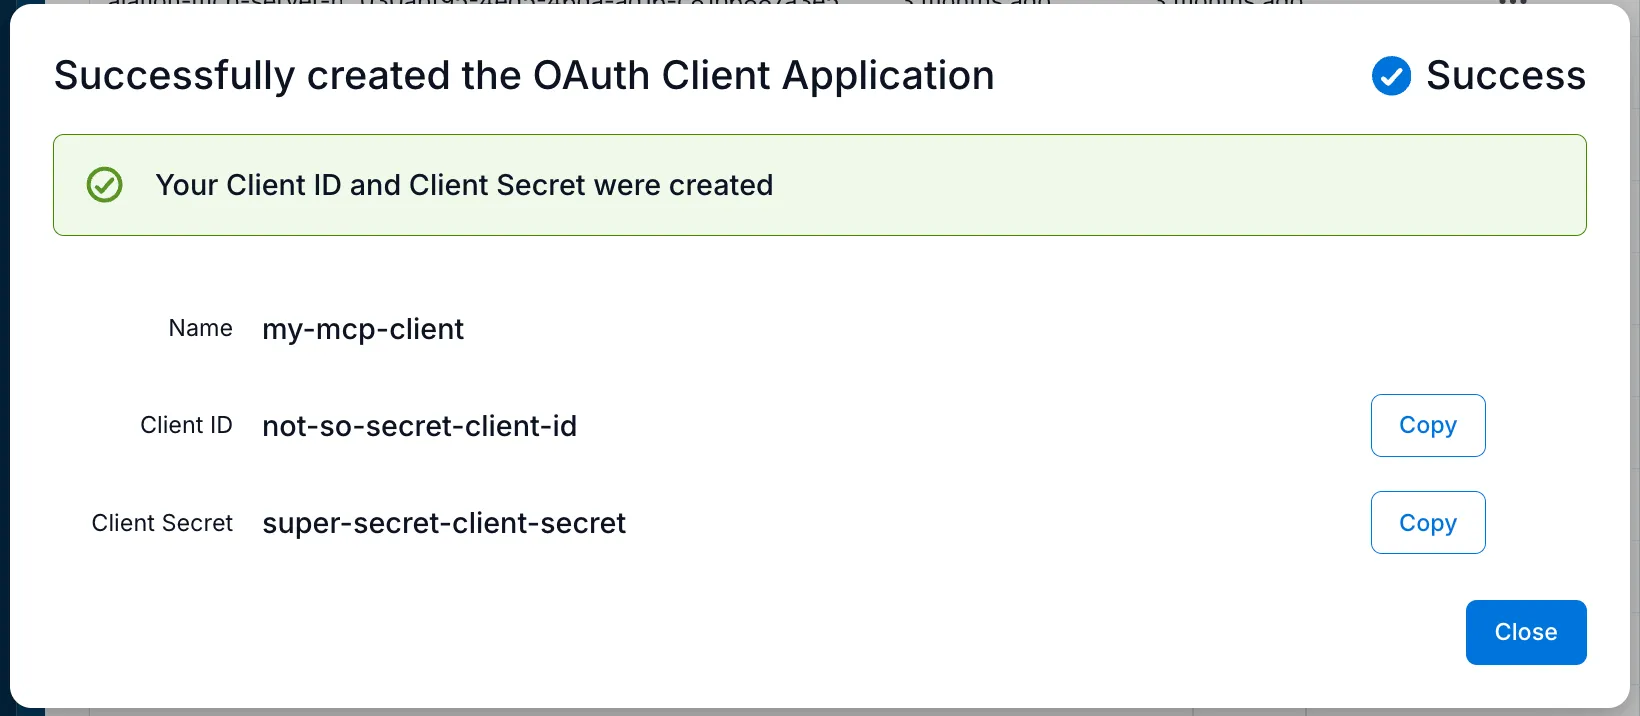
Copy your Client ID and Client Secret
After creation, a success dialog displays your Client ID and Client Secret. Use the Copy buttons to save both values.
Managing Existing OAuth Clients
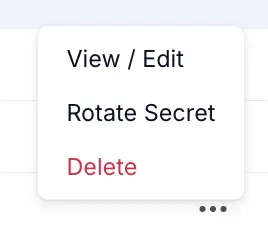
Section titled “Managing Existing OAuth Clients”Each OAuth client in the list has a three-dot menu (…) with the following actions:
- View / Edit — View or modify the client’s settings (name, redirect URIs, token expiry, PKCE). Note that the Client Secret is not viewable from this screen — if you’ve lost it, you must rotate it or create a new client.
- Rotate Secret — Generate a new client secret. The old secret is immediately invalidated, and the new one is shown only once.
- Delete — Permanently delete the OAuth client.
Third-Party Application Configuration
Section titled “Third-Party Application Configuration”To connect your third-party application to Alation, configure it with the following values:
Authorization URL:
https://your-alation-instance.alationcloud.com/oauth/v1/authorize/Token URL:
https://your-alation-instance.alationcloud.com/oauth/v1/token/You’ll also need the Client ID and Client Secret that were generated when you created the OAuth client.
Platform-Specific Considerations
Section titled “Platform-Specific Considerations”Different platforms have different requirements and capabilities.
Known Redirect URIs
Section titled “Known Redirect URIs”-
VSCode:
https://vscode.dev/redirect -
Claude Desktop:
https://claude.com/api/mcp/auth_callbackhttps://claude.ai/api/mcp/auth_callback -
ChatGPT Connectors:
https://chatgpt.com/connector_platform_oauth_redirect -
Cursor:
cursor://anysphere.cursor-mcp/oauth/callback -
LibreChat:
https://<your-librechat-domain>/api/mcp/<server-name>/oauth/callbackReplace
<your-librechat-domain>with your LibreChat instance domain and<server-name>with the name of the MCP server in LibreChat (e.g.,alation-mcp-server).
PKCE (Proof Key for Code Exchange)
Section titled “PKCE (Proof Key for Code Exchange)”PKCE is an additional security measure added to OAuth 2.0. Not all platforms support it — if you’re in doubt, it’s best to leave it enabled as a starting point.