Variables and Context
This guide explains how to connect steps in a flow by passing data from one step to the next using variables.
How variables work
Section titled “How variables work”In a flow, each step can produce outputs that subsequent steps can use as inputs. This is how you chain steps together to create useful workflows.
For example:
The email tool doesn’t know about the chart until you connect the agent’s output to the email’s input.
Types of inputs
Section titled “Types of inputs”When configuring a step’s inputs, you have two options:
Static values
Section titled “Static values”A fixed value that stays the same every time the flow runs.
Use static values for:
- Email addresses that don’t change
- Configuration settings
- Default text
Variable references
Section titled “Variable references”A value that comes from a previous step’s output or a runtime parameter.
Use variables for:
- Passing data between steps
- Using runtime parameters from the Start step
- Dynamic content that changes each run
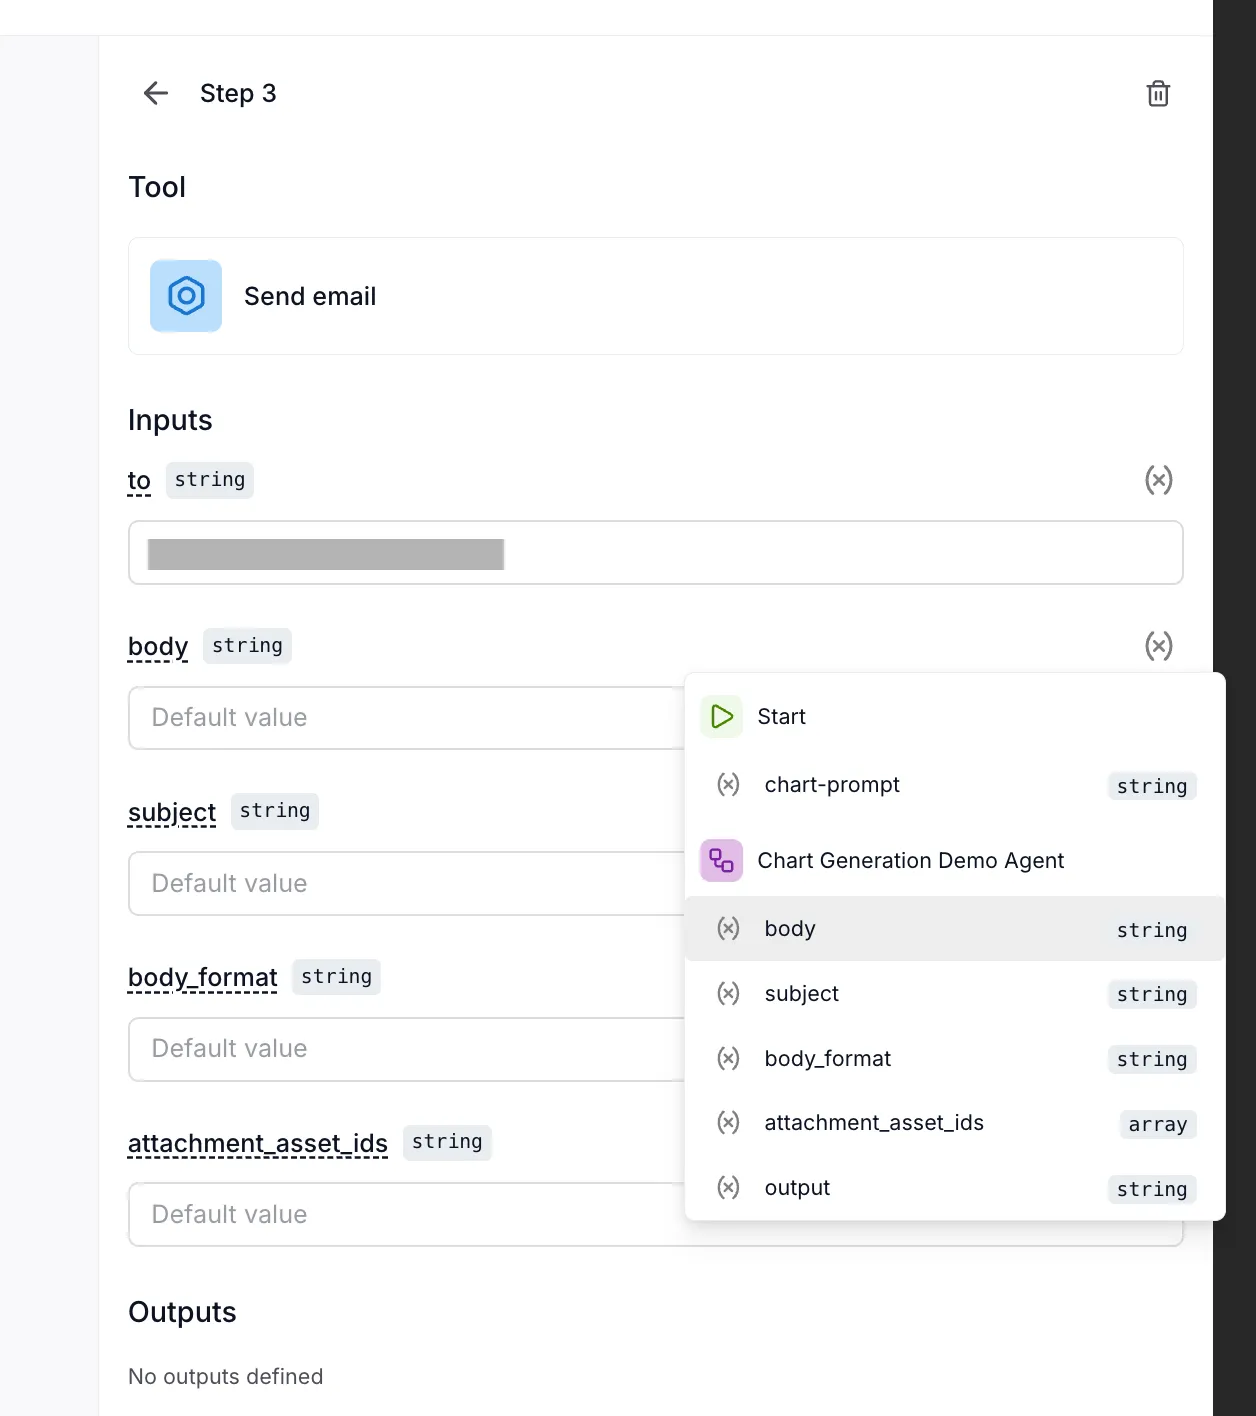
Selecting variables
Section titled “Selecting variables”When you click on an input field, a dropdown shows all available variables:

Variables are grouped by their source:
- Start — Runtime parameters defined in the Start step
- Step names — Outputs from previous steps (e.g., “Chart Generation Demo Agent”)
Click a variable to select it. The input field shows it’s using a reference:
Variable scope
Section titled “Variable scope”Variables follow a simple rule: a step can only access outputs from steps that came before it.
Consider this flow:
[Start] → [Query Tool] → [Analyzer Agent] → [Slack Tool]- Start parameters: accessible by Query Tool, Analyzer Agent, and Slack Tool
- Query Tool output: accessible by Analyzer Agent and Slack Tool only
- Analyzer Agent output: accessible by Slack Tool only
- Slack Tool output: not accessible by any other step (it’s last)
Example: Chaining an agent to an email tool
Section titled “Example: Chaining an agent to an email tool”Here’s a complete example of connecting variables between steps.
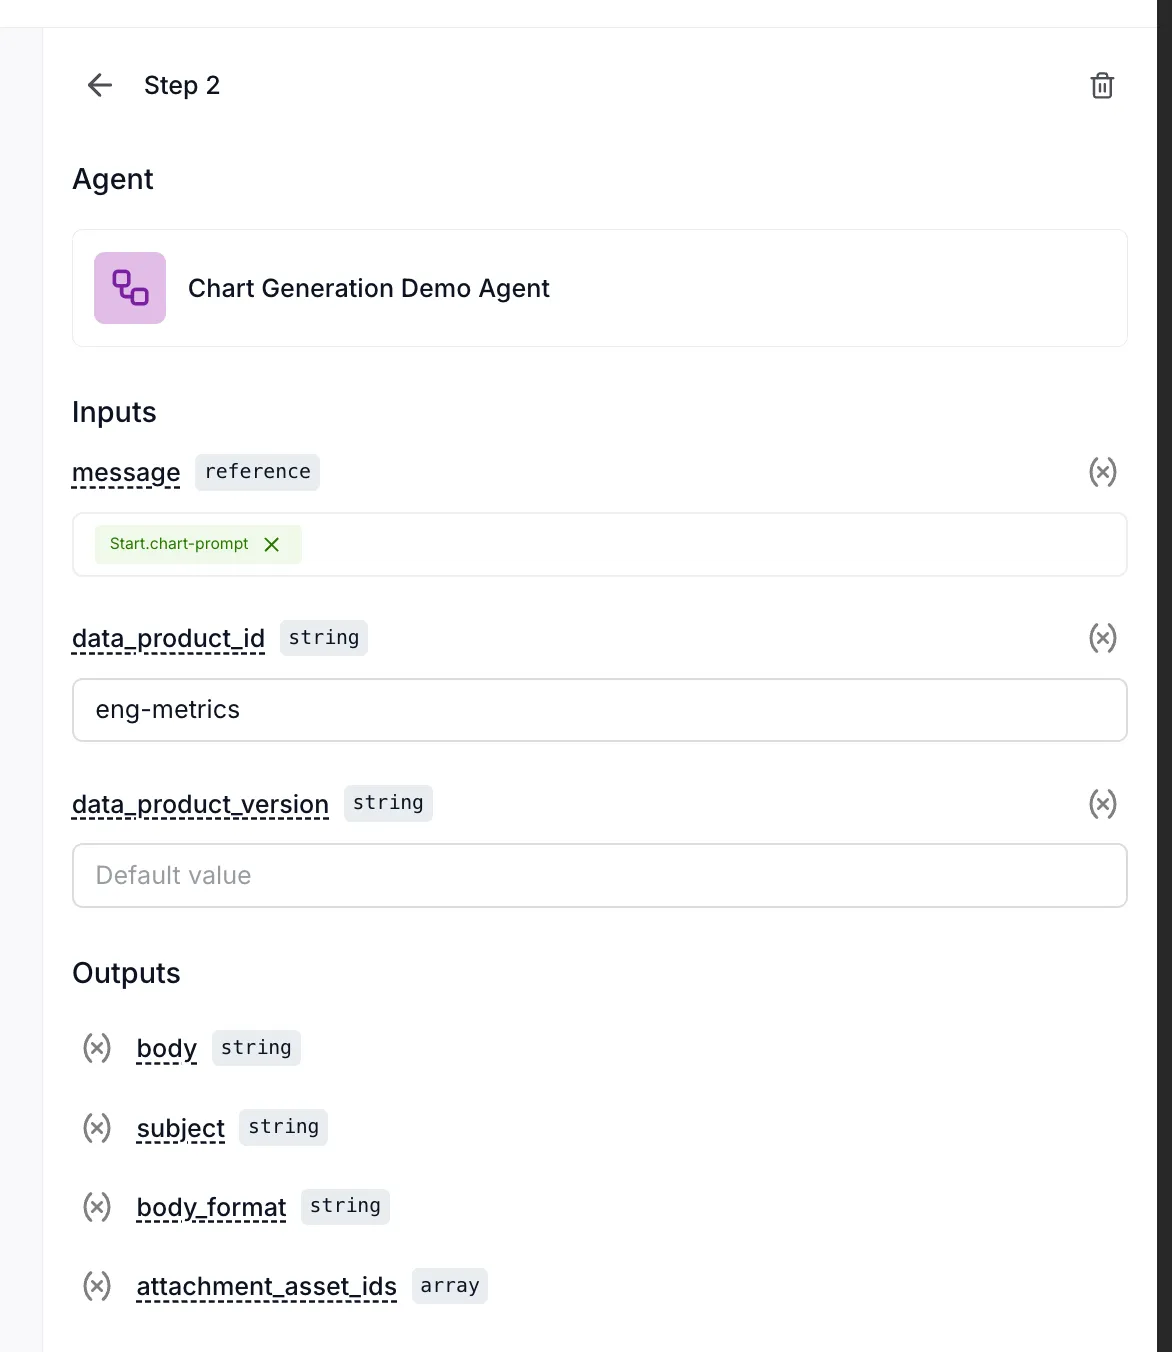
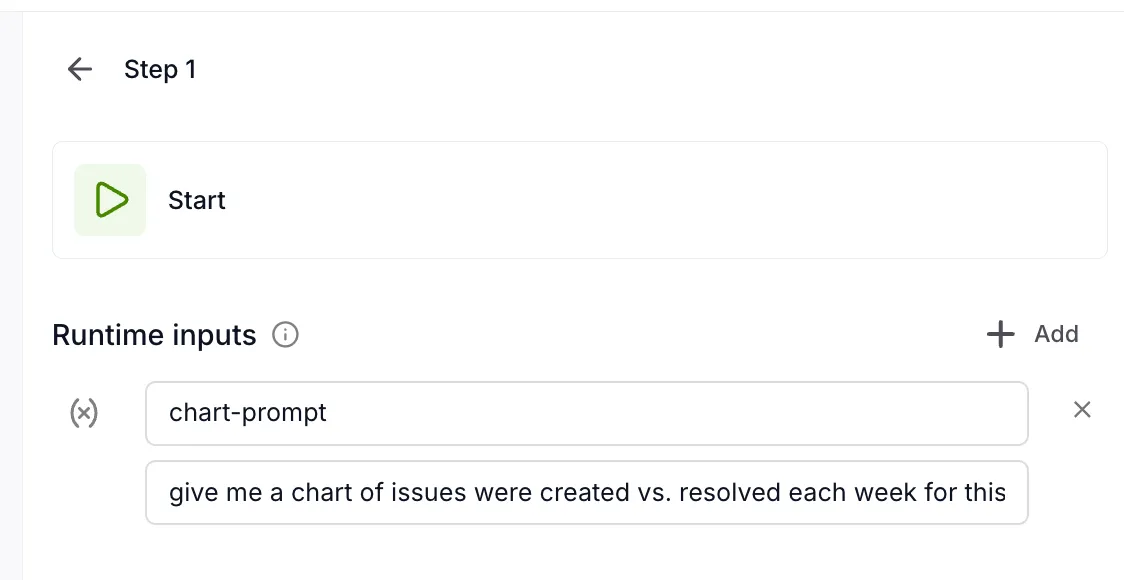
Step 1: Configure the agent
Section titled “Step 1: Configure the agent”The agent receives the chart-prompt parameter from Start:
The agent produces several outputs:
body— Email body contentsubject— Email subject linebody_format— Format type (HTML/plain)attachment_asset_ids— Chart image IDs
Step 2: Configure the email tool
Section titled “Step 2: Configure the email tool”The email tool maps each input to the agent’s outputs:
After configuration:
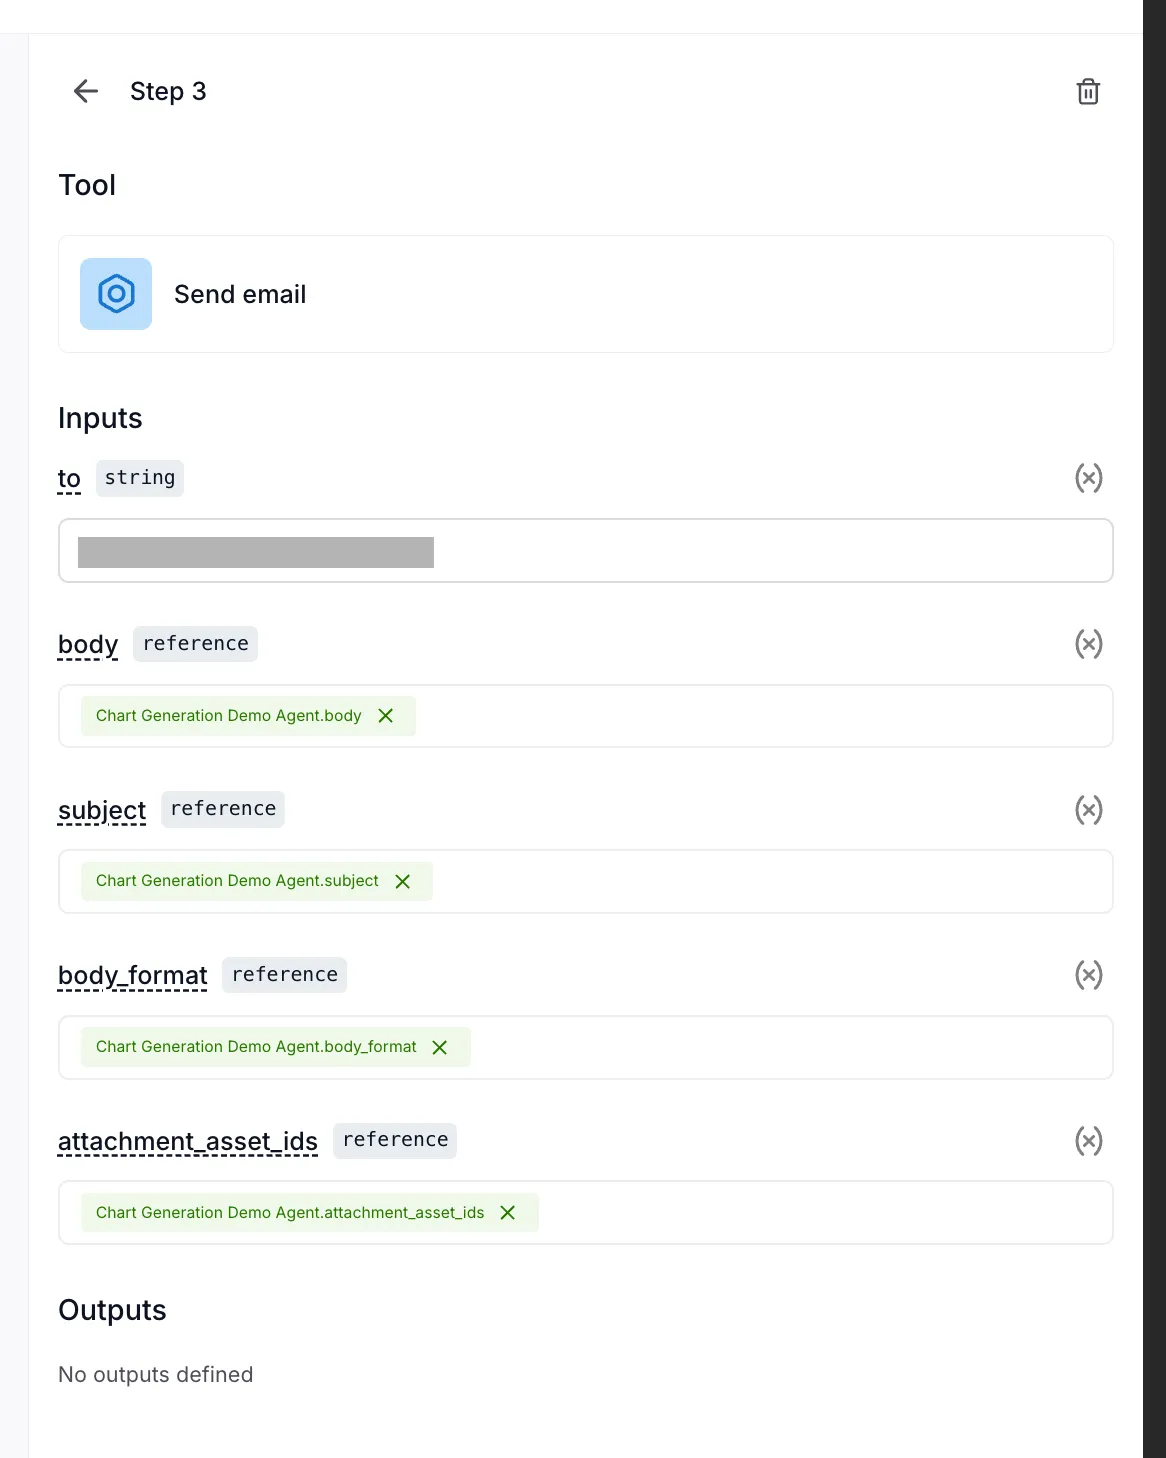
| Email input | Source |
|---|---|
| to | Static value: “user@example.com” |
| body | Chart Generation Demo Agent.body |
| subject | Chart Generation Demo Agent.subject |
| body_format | Chart Generation Demo Agent.body_format |
| attachment_asset_ids | Chart Generation Demo Agent.attachment_asset_ids |
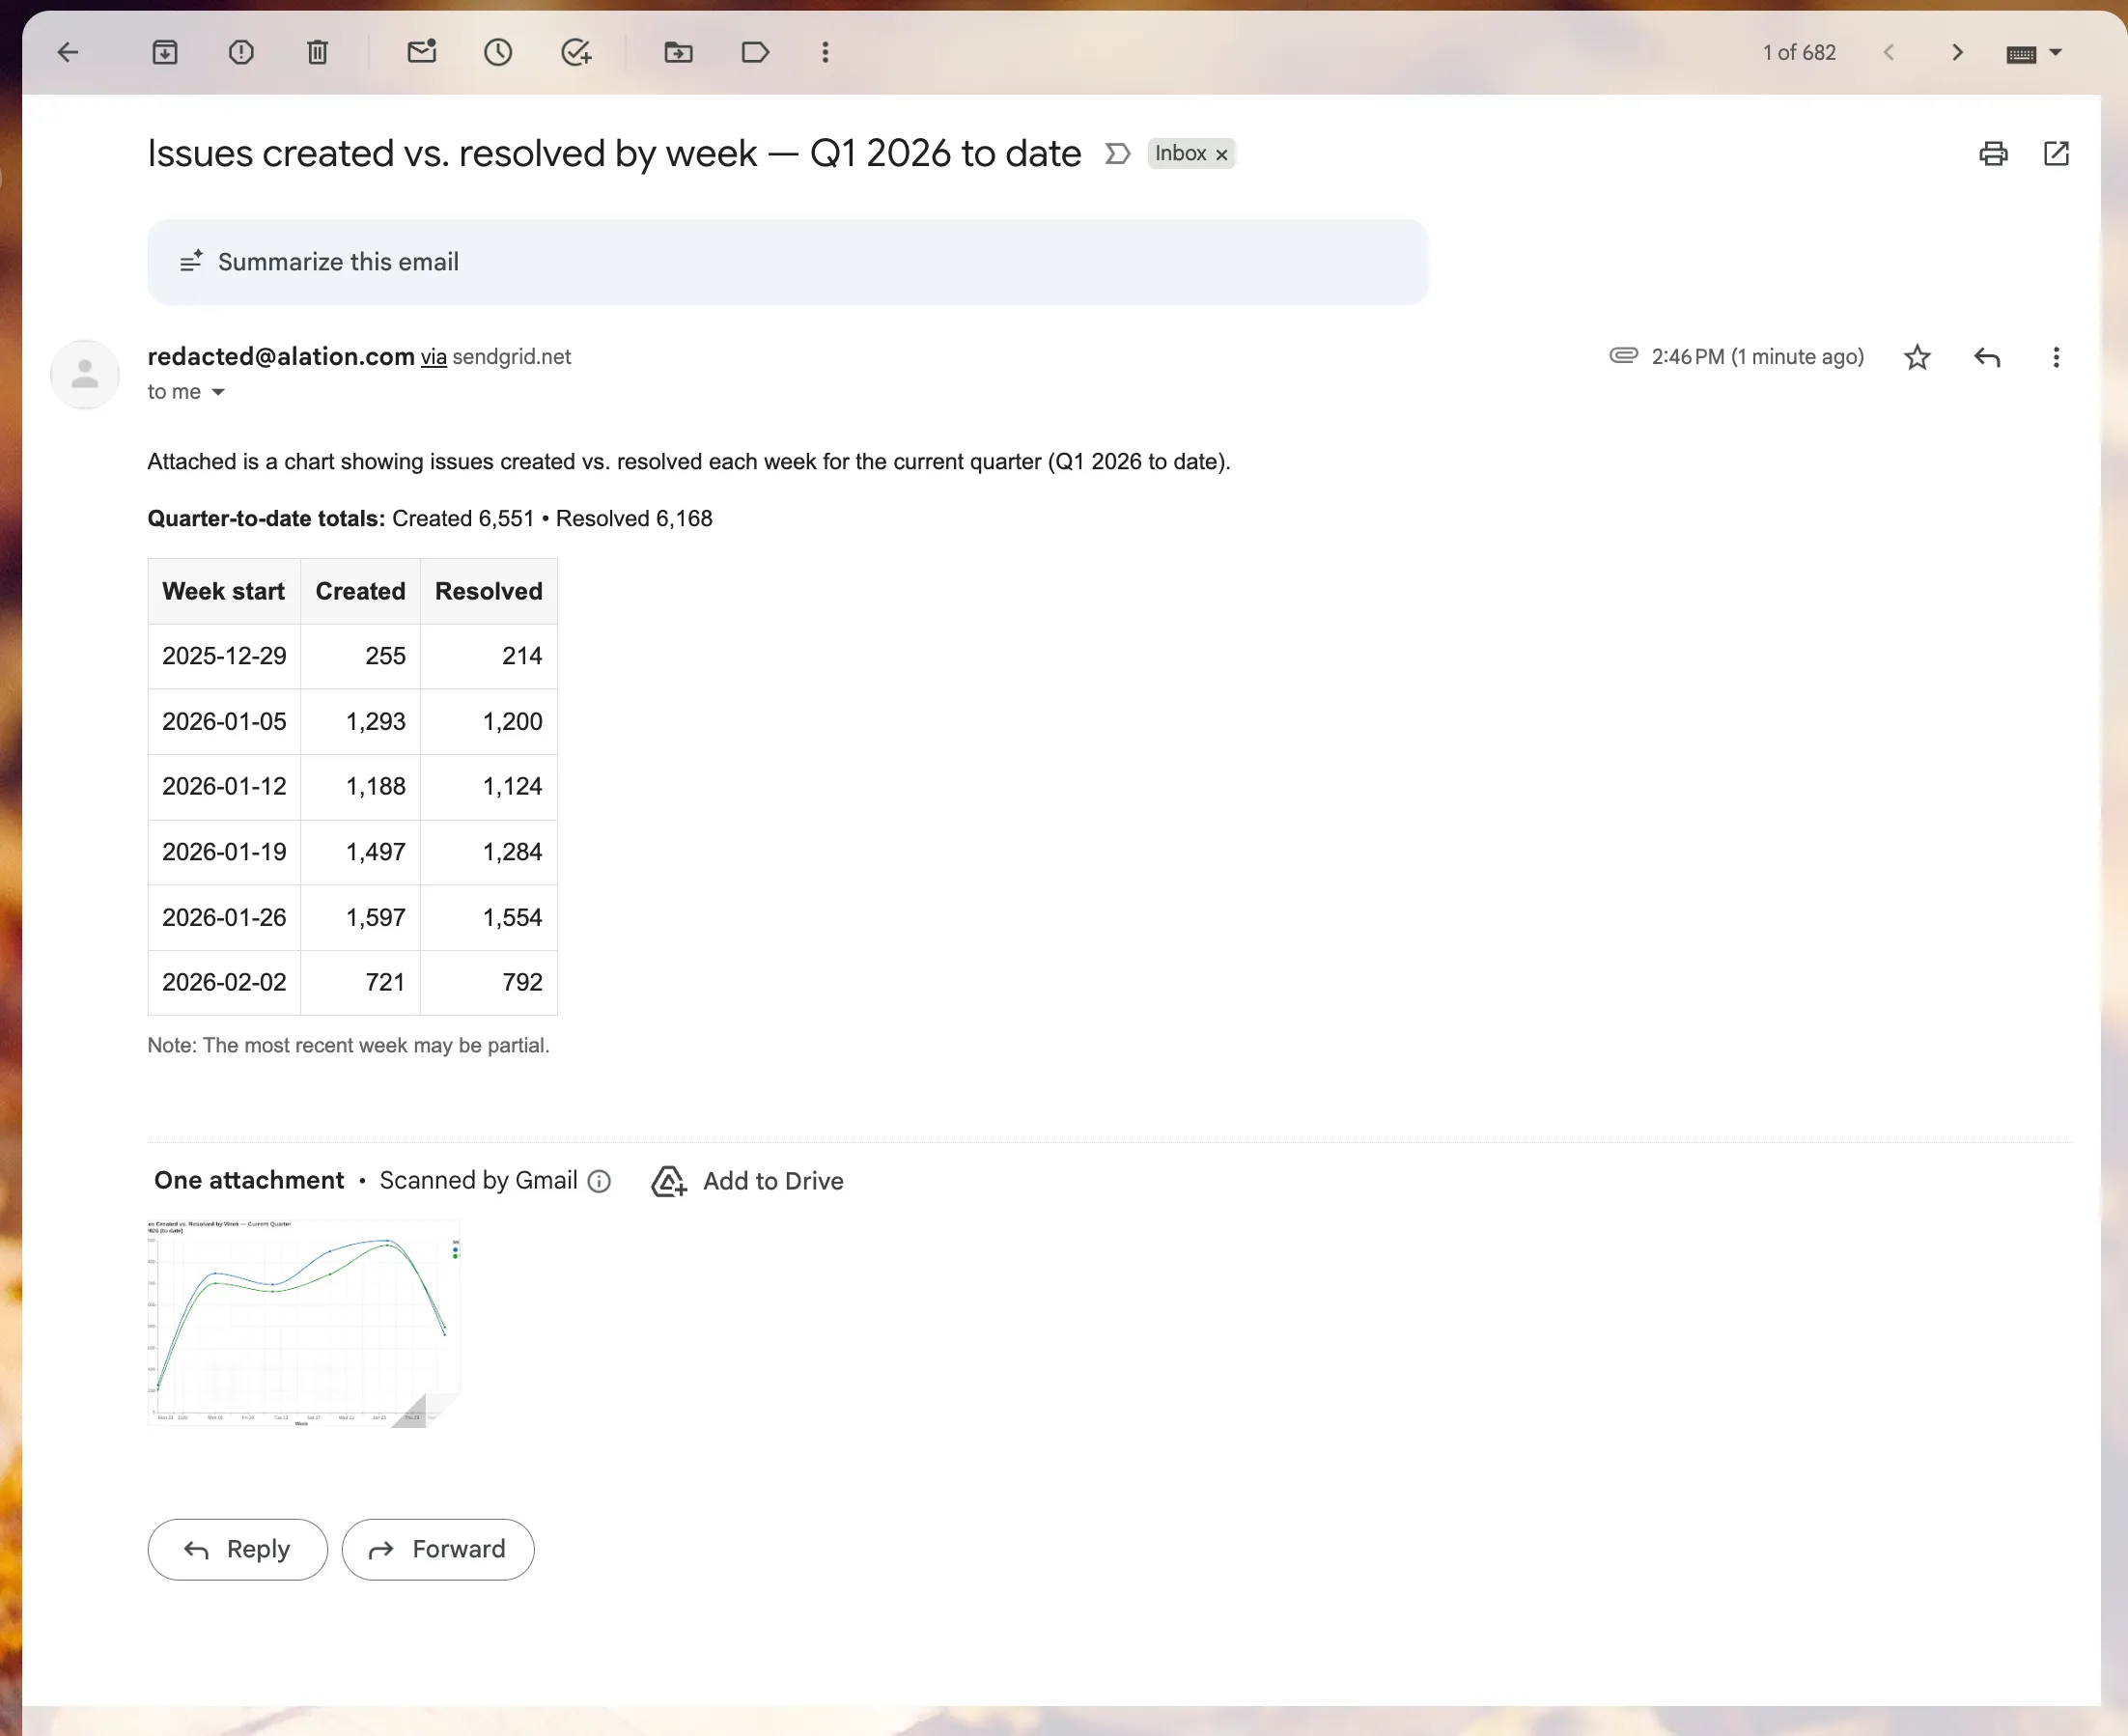
Result
Section titled “Result”When the flow runs, the email tool receives all the data it needs from the agent:
Runtime parameters
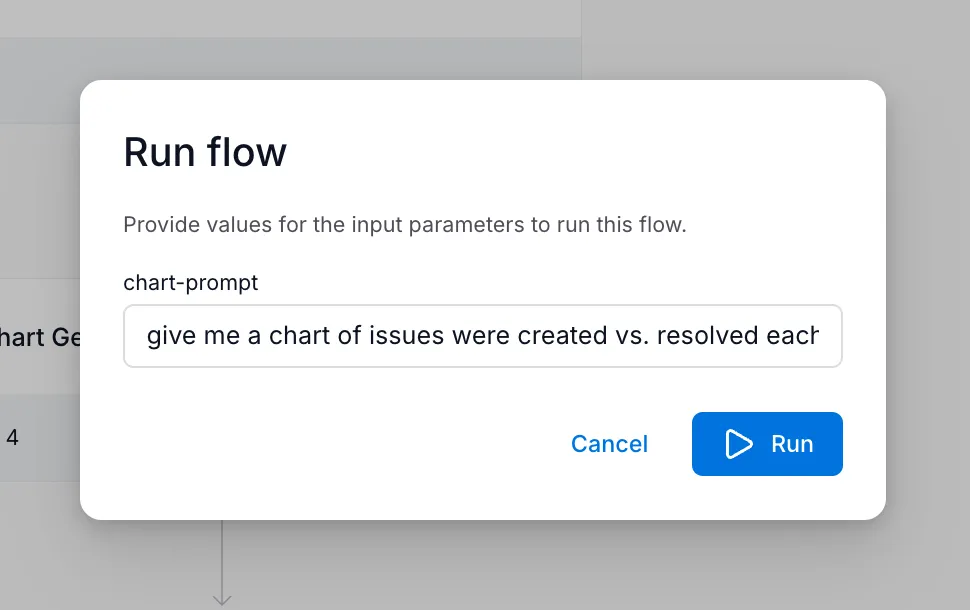
Section titled “Runtime parameters”Runtime parameters are defined in the Start step and can be provided when the flow runs:
These parameters are available to all steps in the flow. They’re useful for:
- Making flows reusable with different inputs
- Allowing scheduled runs to use different values
- Testing flows with various scenarios
When you run a flow manually, you’re prompted to provide values:
Use descriptive step names. Clear names make it easier to identify which variable you need when configuring inputs.
Check available outputs. The dropdown shows all outputs a step produces. If you don’t see what you expect, check the agent or tool’s documentation.
Test incrementally. After connecting variables, run the flow to verify data passes correctly before adding more steps.
Next steps
Section titled “Next steps”- Scheduling Flows — Automate flow execution with schedules
- Flows overview — Return to the main flows introduction